
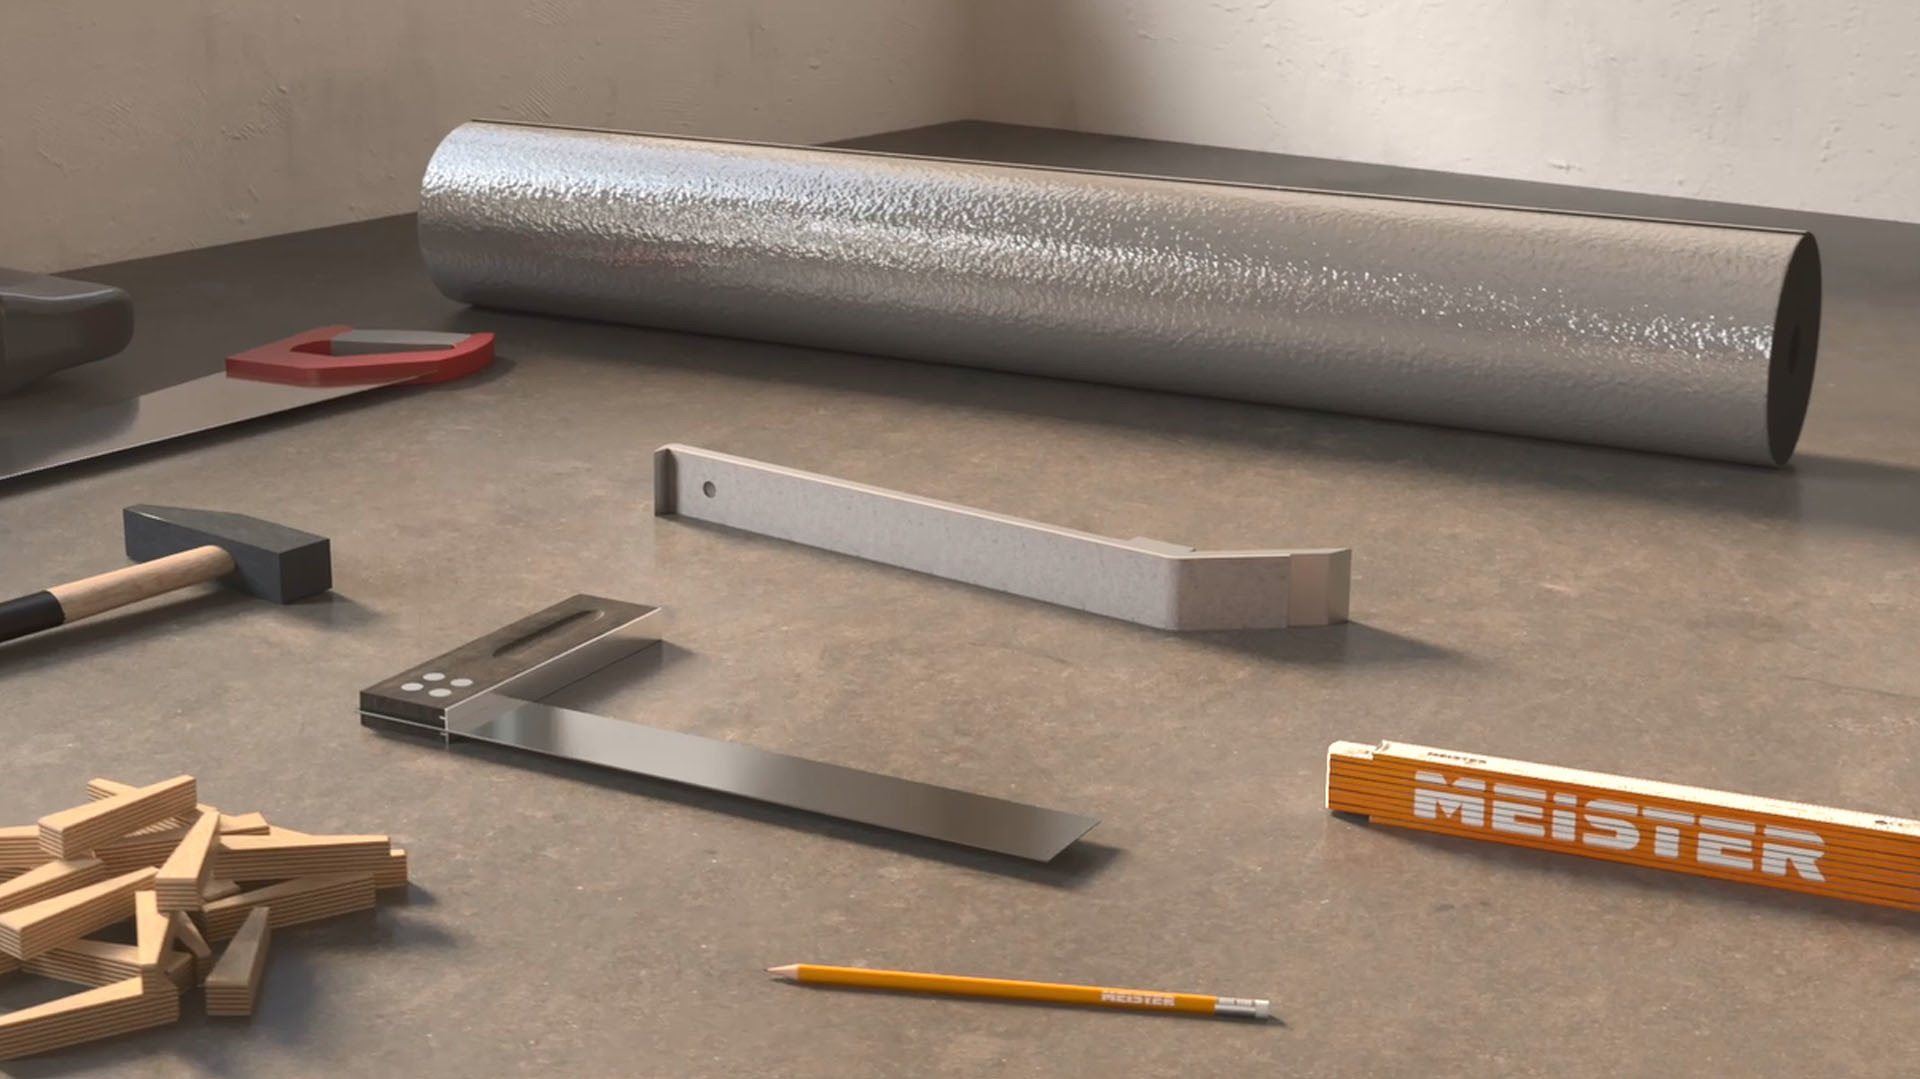
The preparation is the same for all installation options: the floor must be dry, even, firm and clean. A vapor barrier film (PE film) should be used on mineral substrates (e.g. screed). With the waterproof design floors MeisterDesign. allround and MeisterDesign. rigid, a vapor barrier is not necessary. Old coverings such as tiles or a PVC flooring may remain in place if necessary, but be aware that this may make the overall installation too high. Design flooring types with a low installation height are the best option for laying on top of an old floor covering. It is essential to take up old carpets for reasons of stability and hygiene; this material is not suitable as underlay. The new flooring needs time to acclimatise first. To that end, prior to installation, unopened packs must be stored for approximately 48 hours in the room where they are to be laid later.
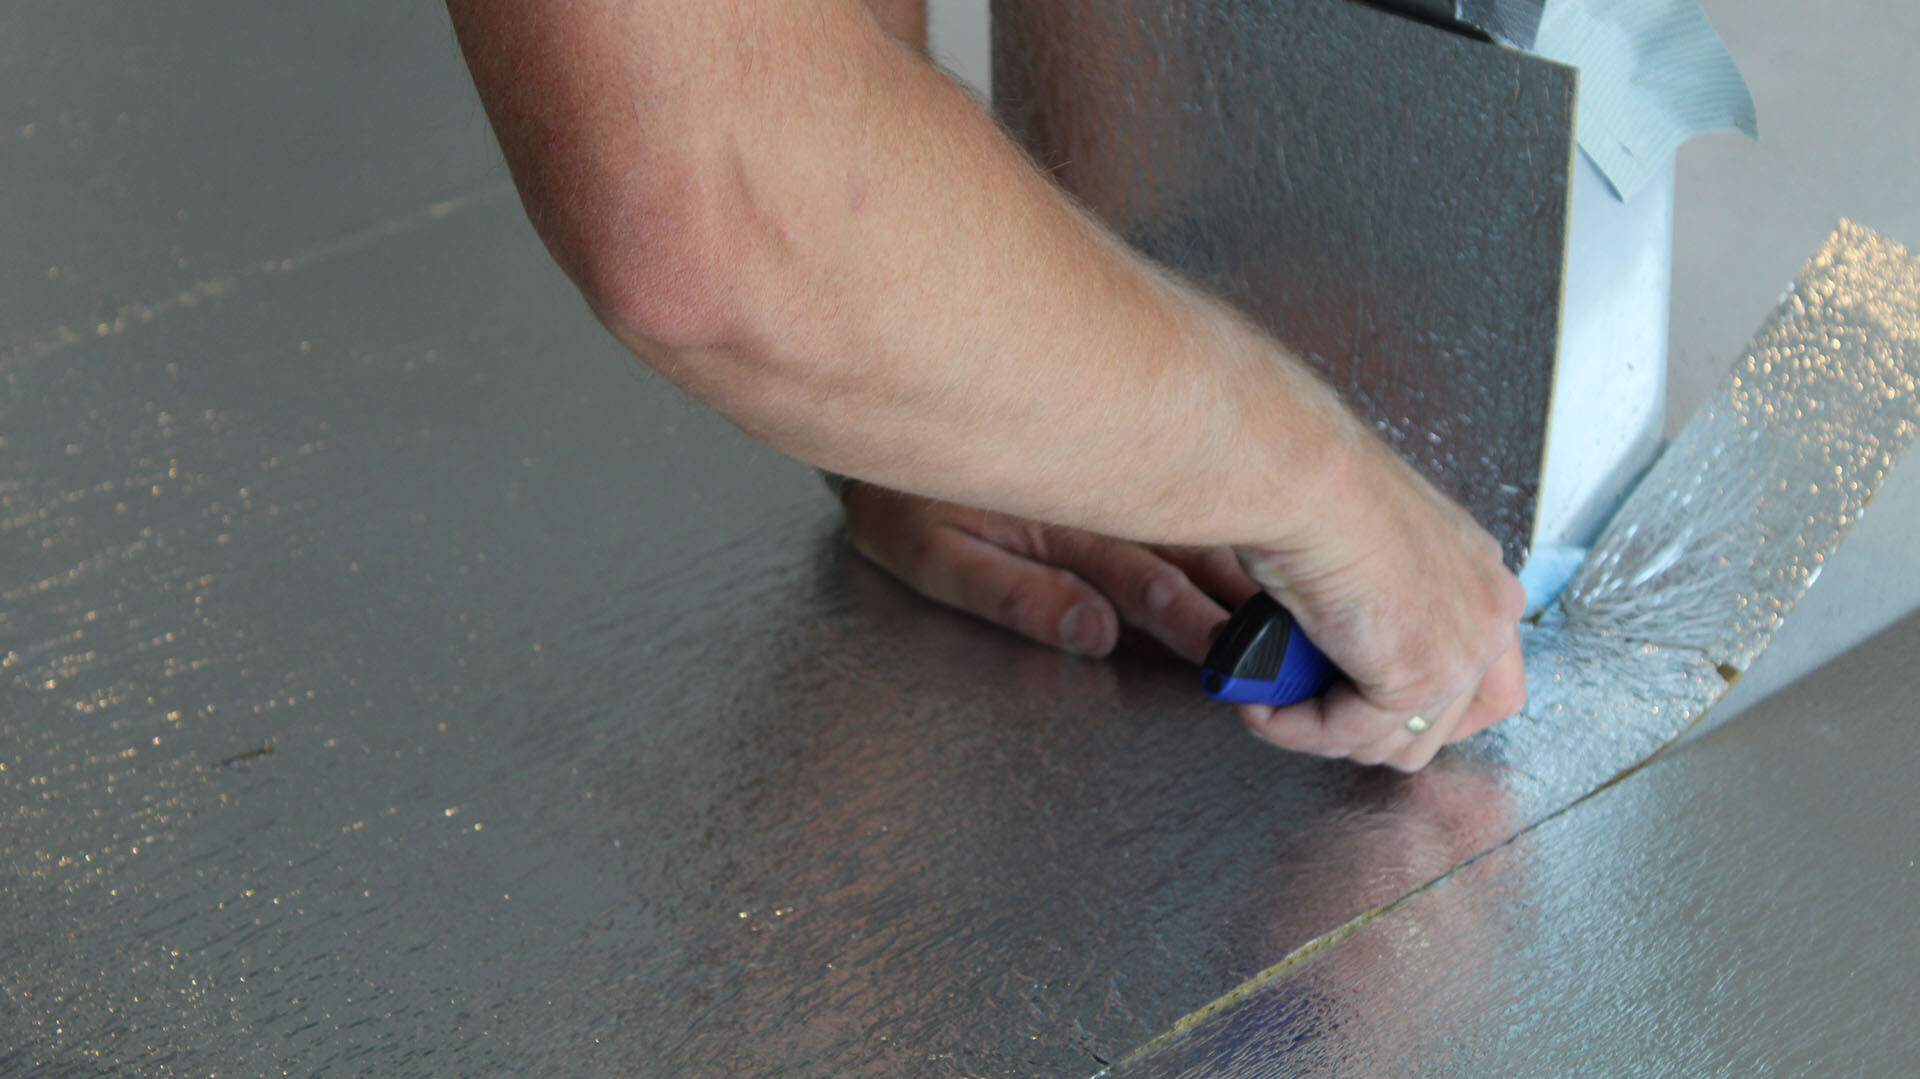
If the product does not already feature a sound-absorbing cushion, use e.g. MEISTER-Silence 15 DB, MEISTER-Silence 20, MEISTER-Silence 25 DB or MEISTER-SilenceEco as a cushioning layer (when using MEISTER-Silence 25 DB or MEISTER-Silence 15 DB, additional 0.2 mm PE film is not required).
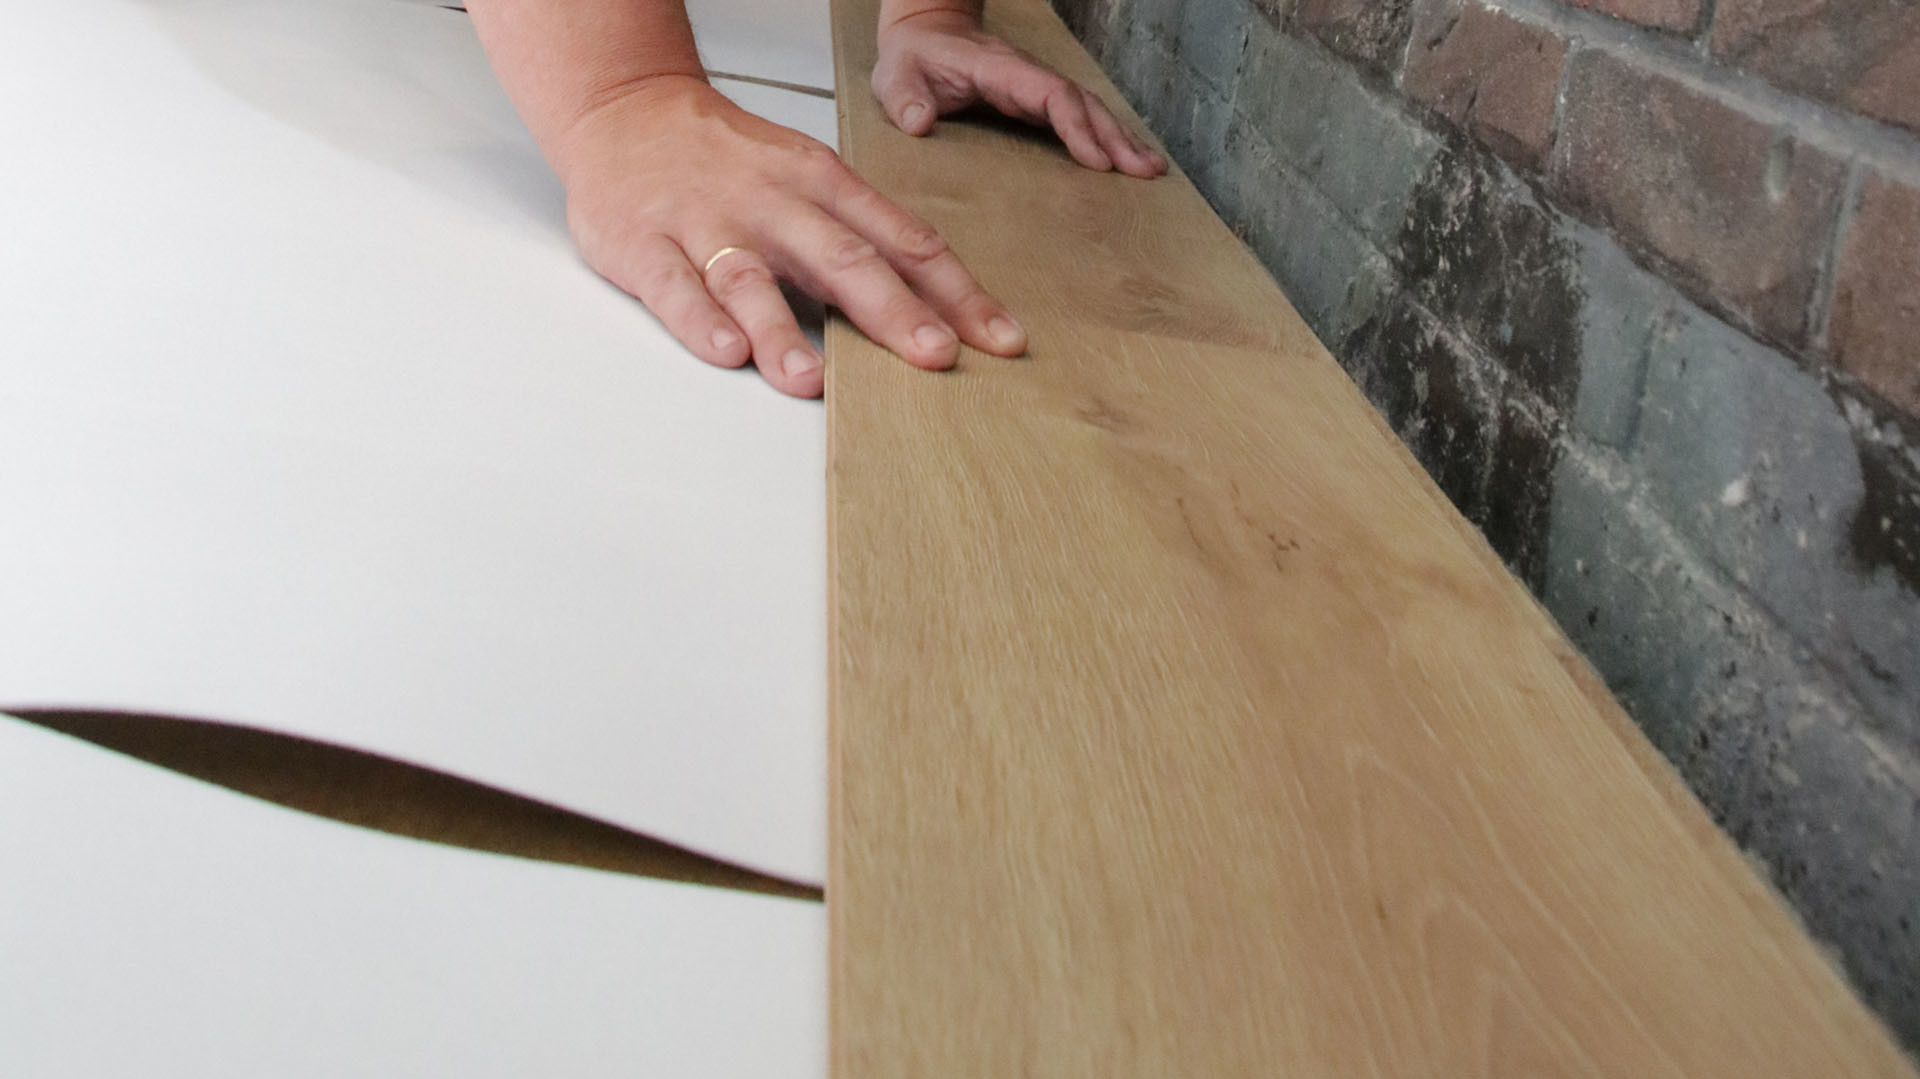
Start by laying the first complete plank in the left-hand corner of the room with the tongue sides facing the wall.
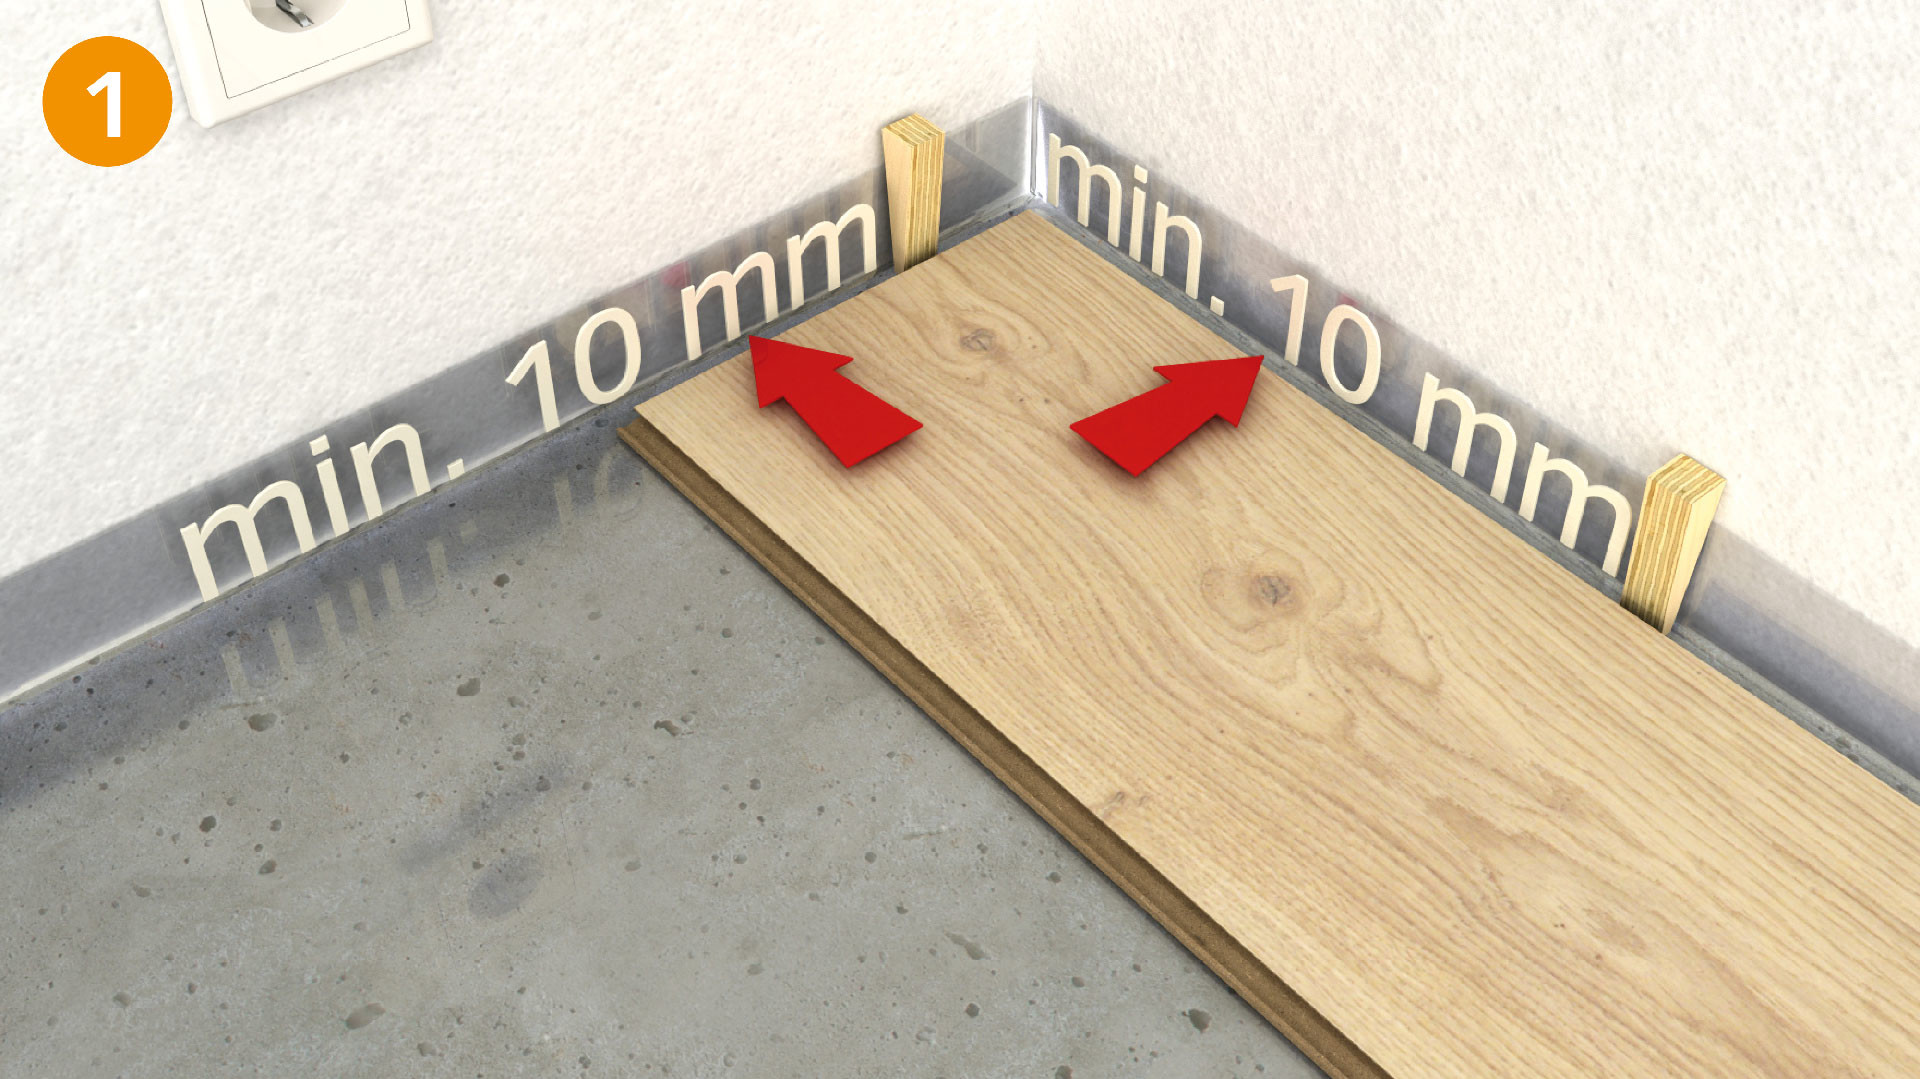
Remove only the tongues on the long sides of all the other planks you want to lay in the first row. Using wedges, you can easily keep a gap of at least 10 mm or 1.5 mm per metre from the wall (Fig. 1).
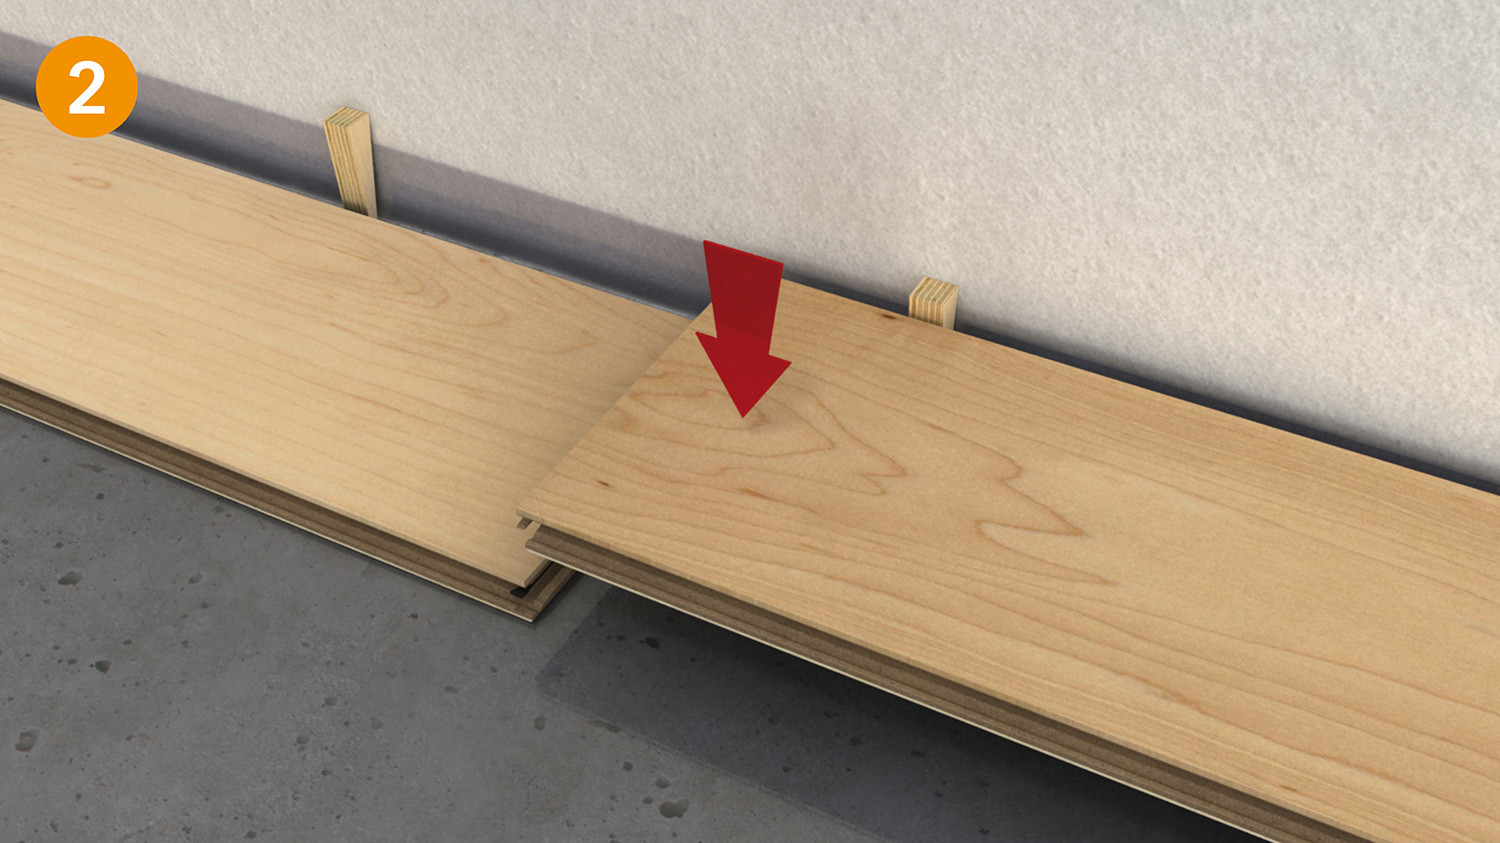
Insert the head end of the next complete plank into plank no. 1 (Fig. 2). Lay the other planks in this row in the same way across the entire width of the room.
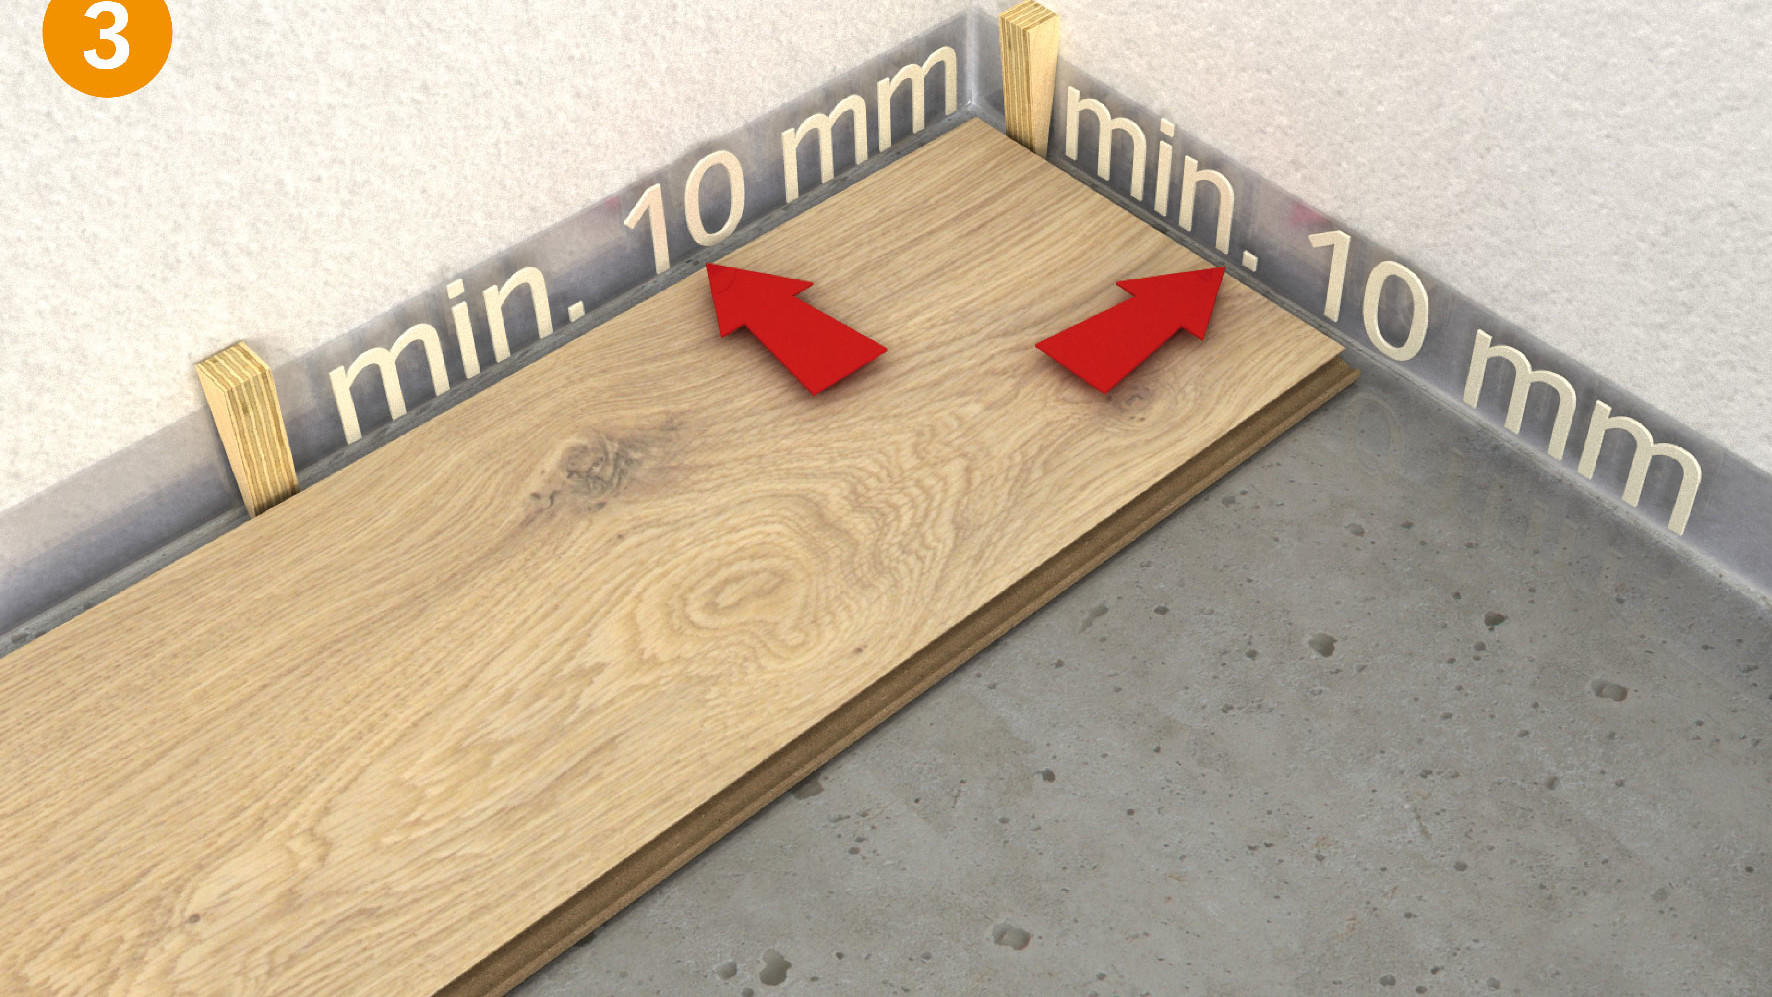
Cut the last plank in each row so that you leave a gap of at least 10 mm to the wall (Fig. 3). You can use cut-off pieces of planks, as long as they are at least 40 cm long (30 cm for MeisterDesign. comfort DB 600 S), to start subsequent rows.
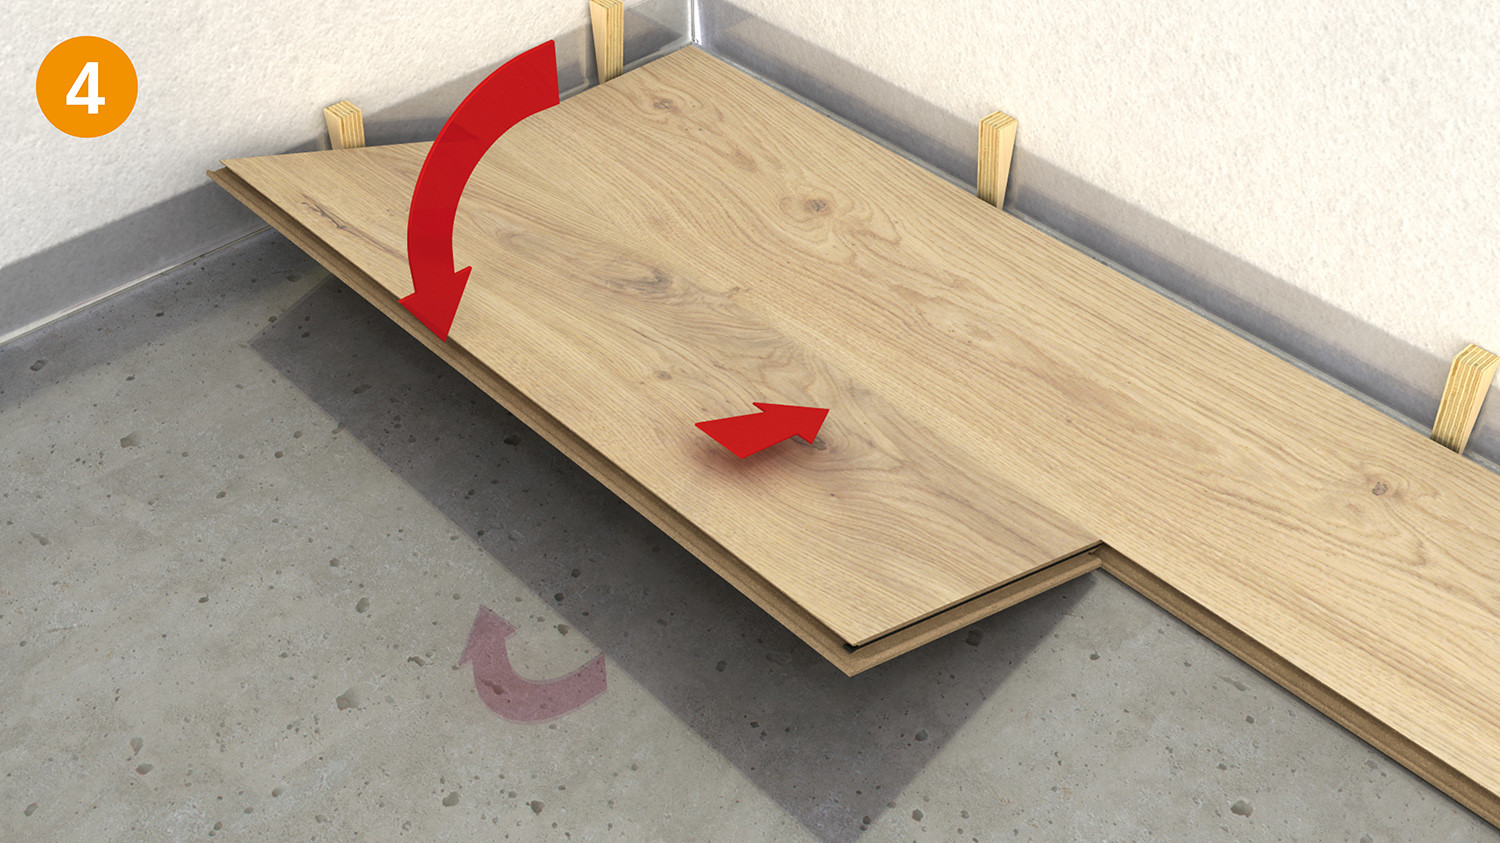
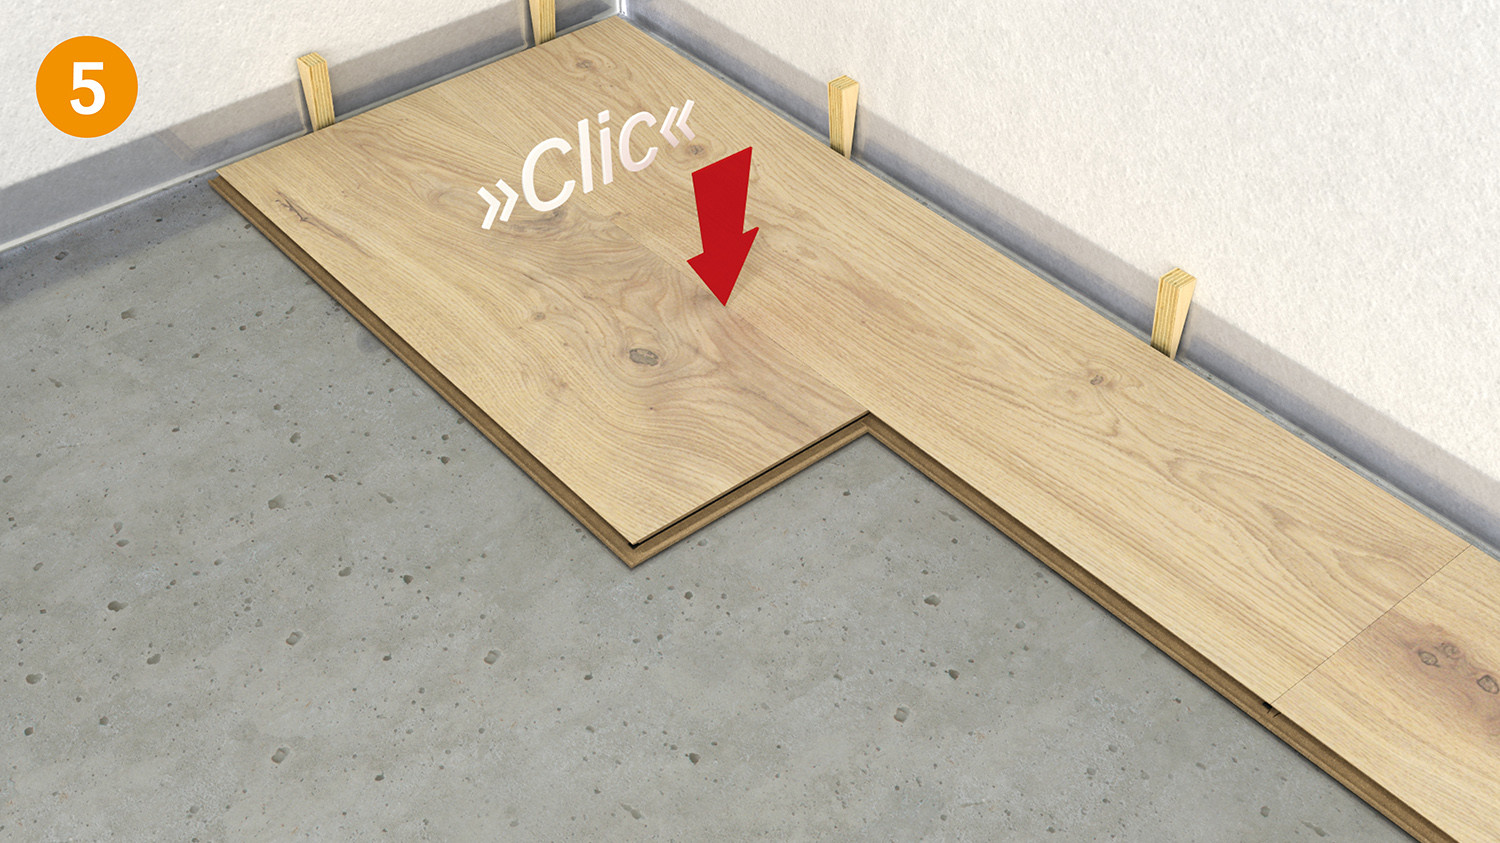
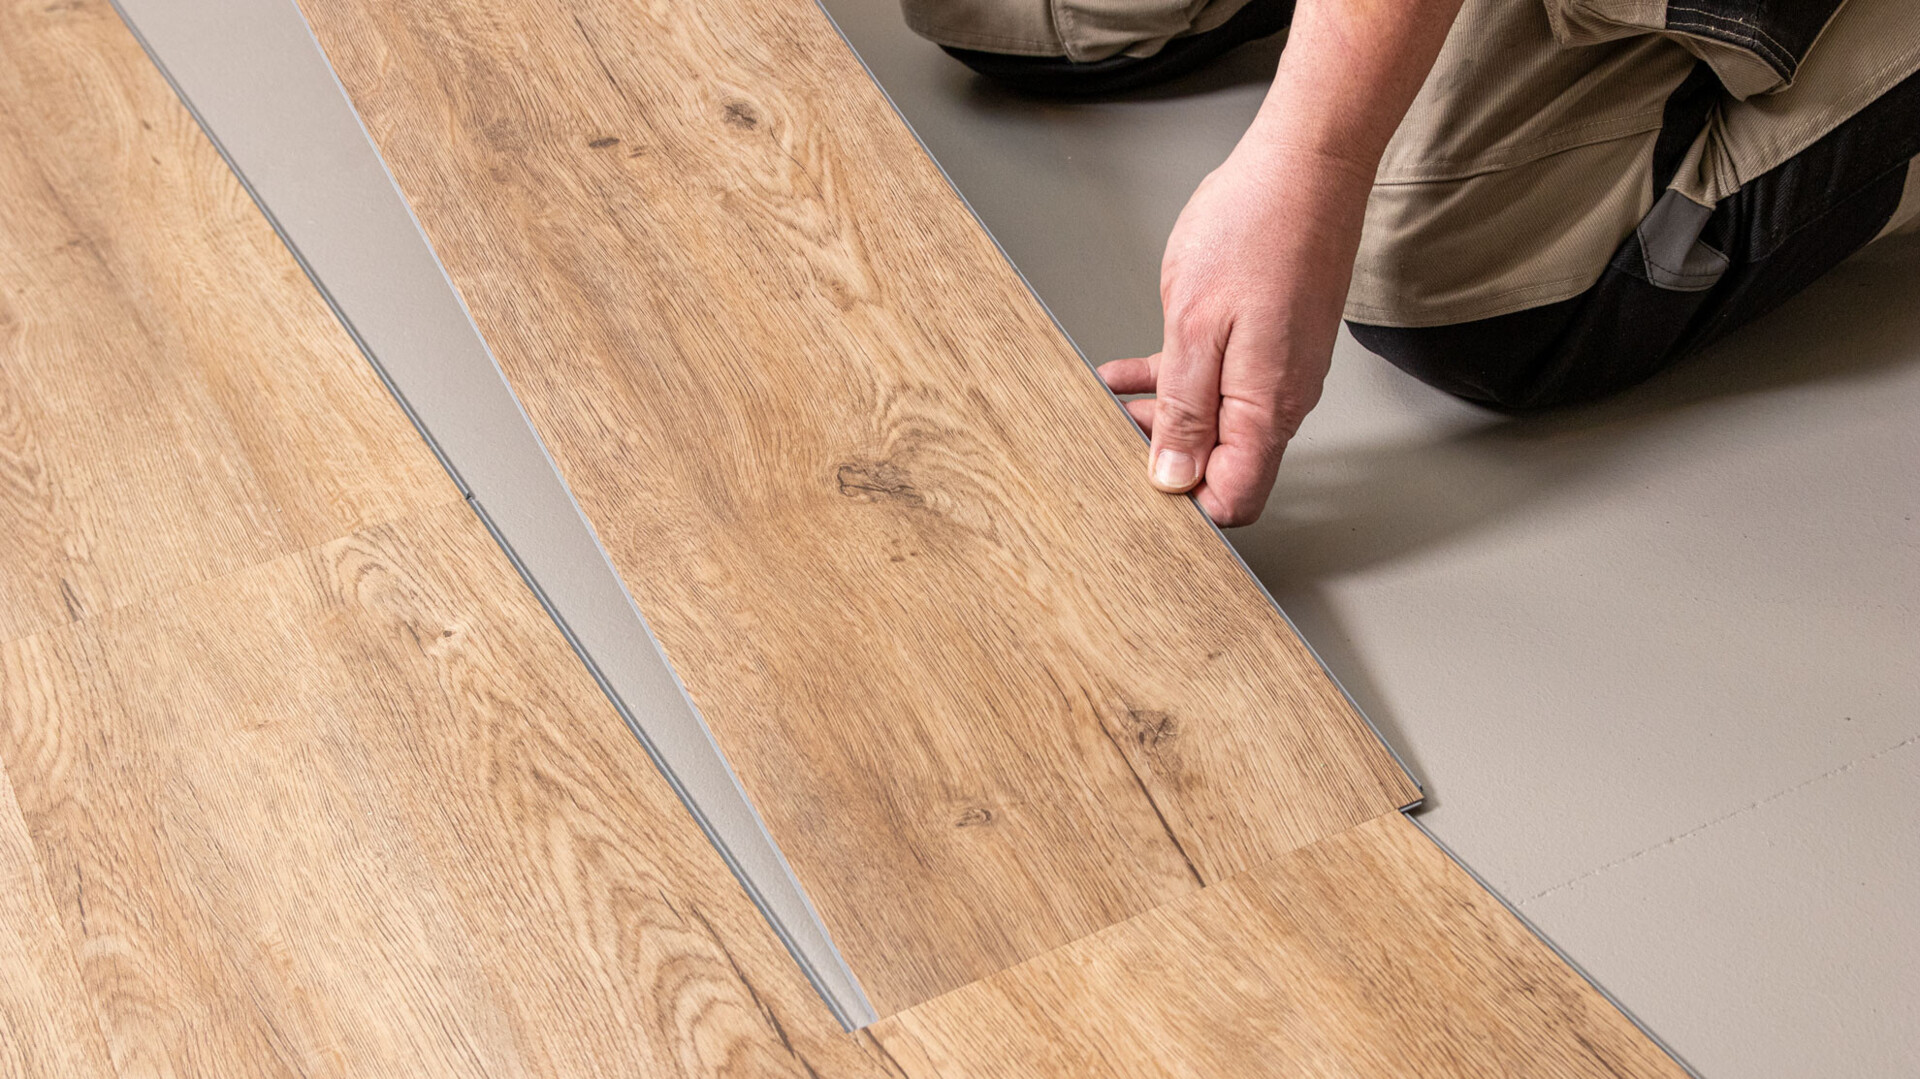
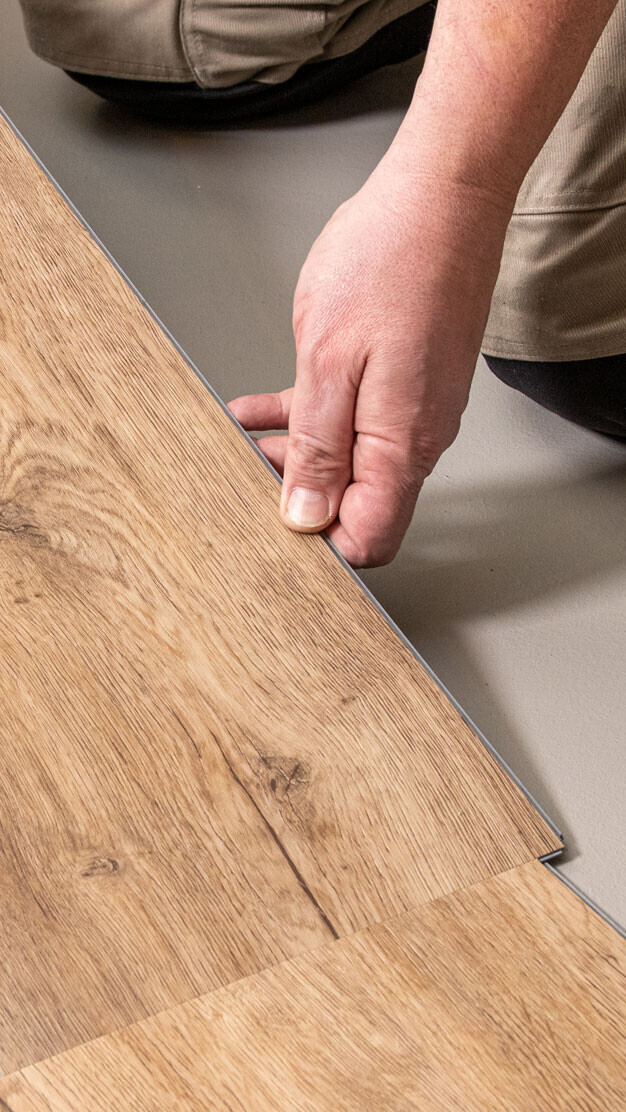
Make sure that the planks in the first row are straight. Cut the first plank of the second row down to approx. 80 cm (approx. 50–60 cm for MeisterDesign. flex DB 600 S). Fix this plank upright with the tongue as far as possible into the groove on the groove side of the previous row of planks and press the plank down slowly, using a forward and downward turning motion (Fig. 4). The plank should lock into the previously laid row (Fig. 5).
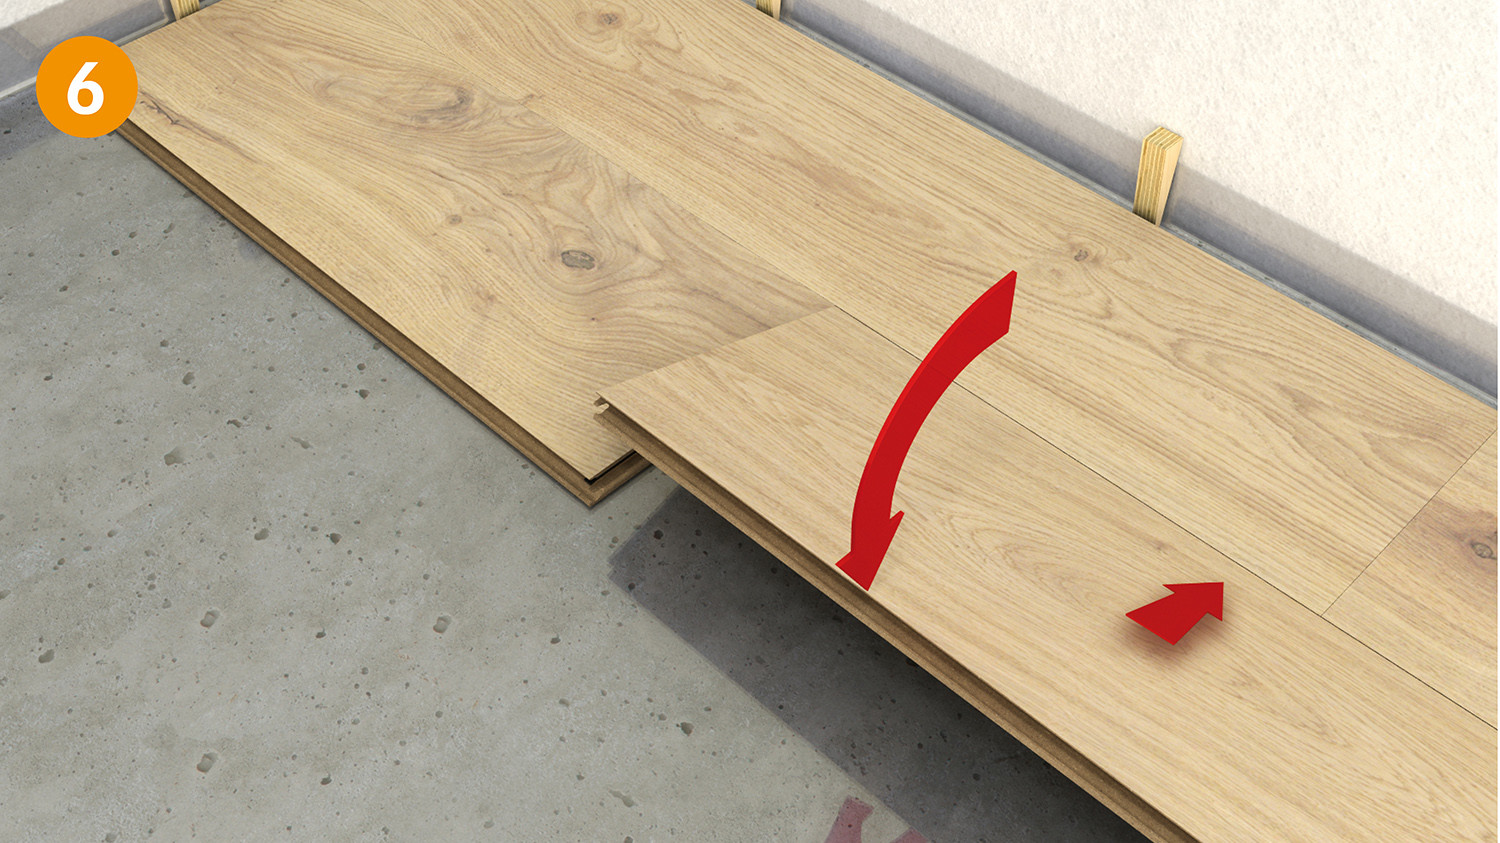
Similarly, the next complete plank is turned into the click connection on the long side and the head end pushed tight against the previous plank before it is lowered. Then press the plank down slowly, using a forward and downward turning motion (Fig. 6). The plank must lock into the row previously laid and the end joint must fit tightly into the previous plank.
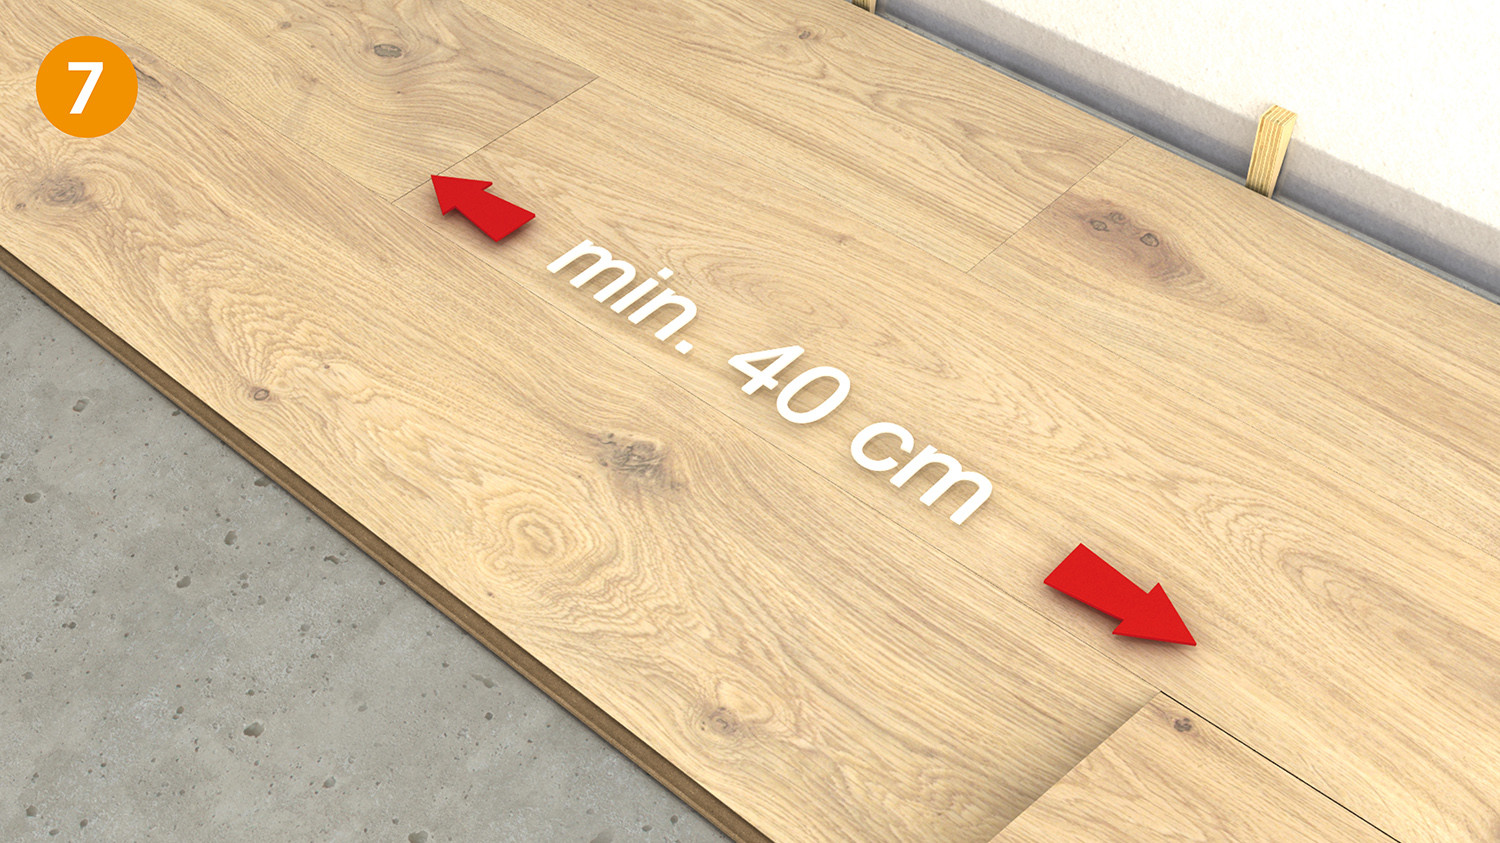
Install the whole area row by row in this way. Remember that the end joints must be offset by at least 40 cm (25 cm for MeisterDesign. comfort DB 600 S) (Fig. 7).
To cut the last row to size, use a spare piece of plank and draw the remaining plank width on it (leaving at least a gap of 10 mm or 1.5 mm per metre to the wall).
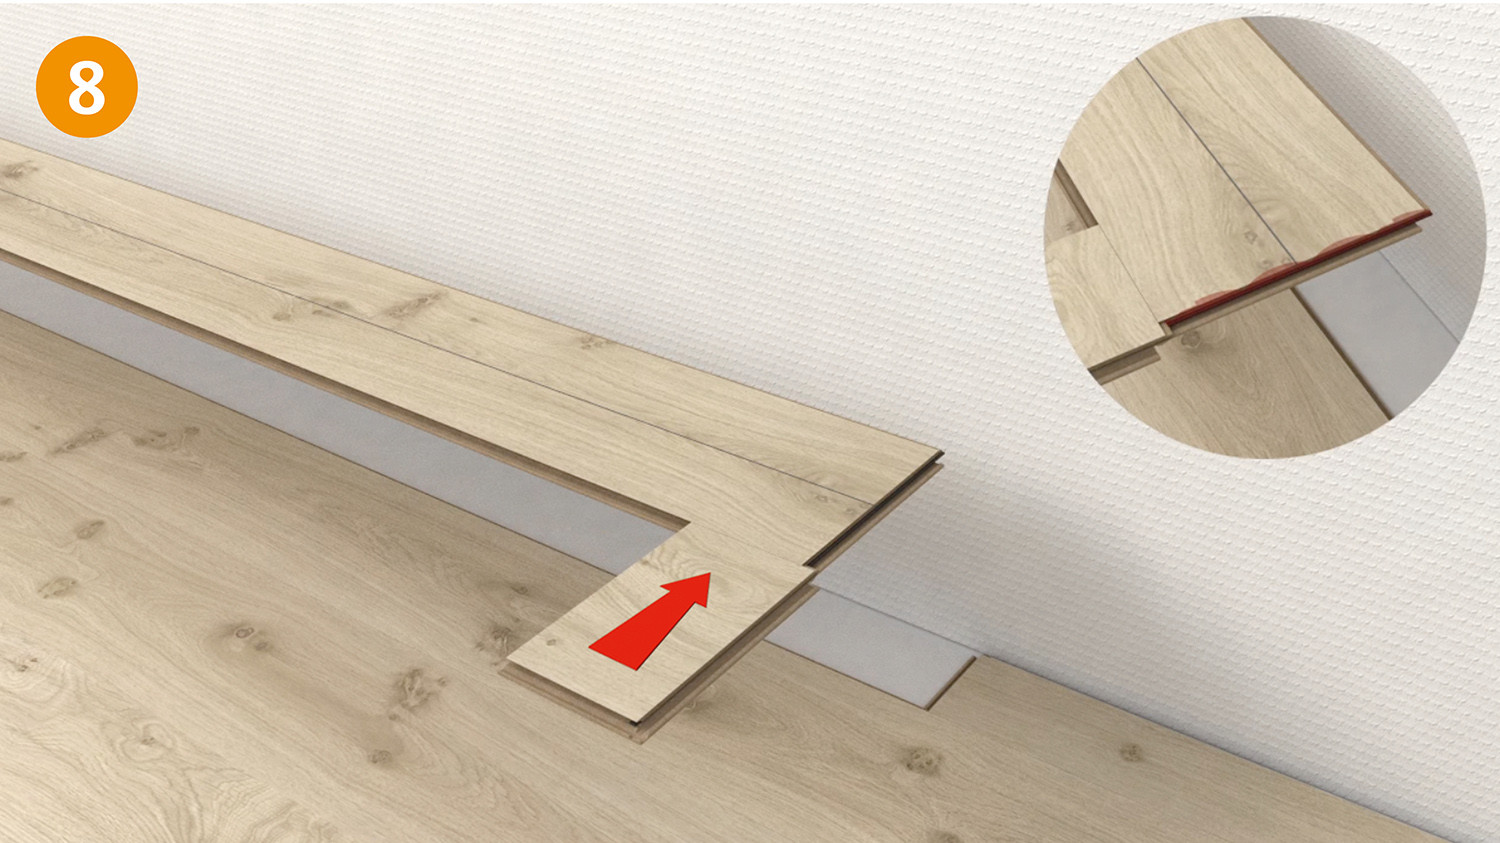
Taking the plank marked for width, push the plastic end tongue forward out of the end groove with the aid of a spare piece of plank (Fig. 8).
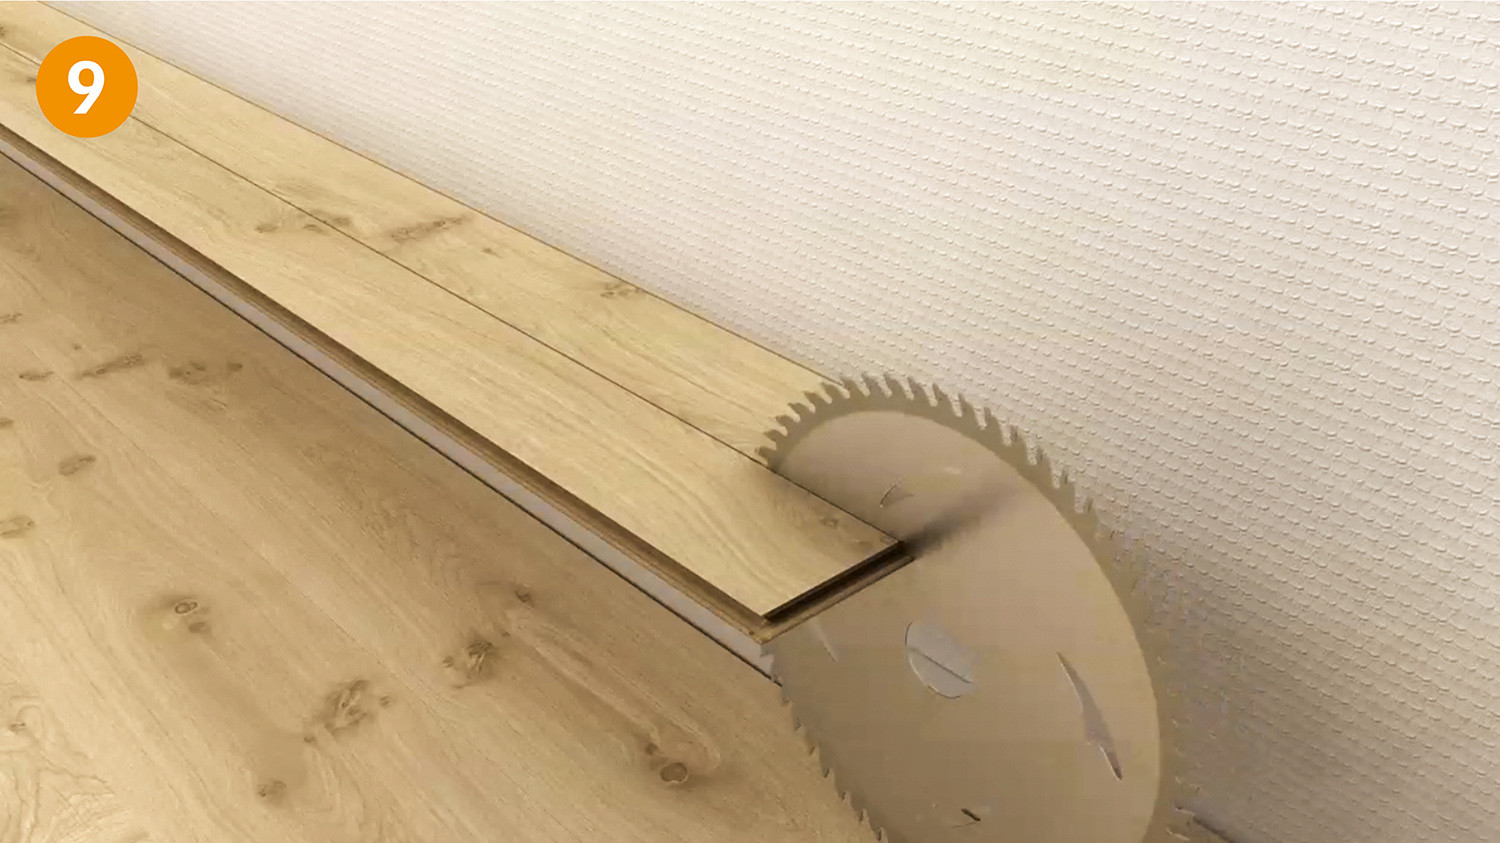
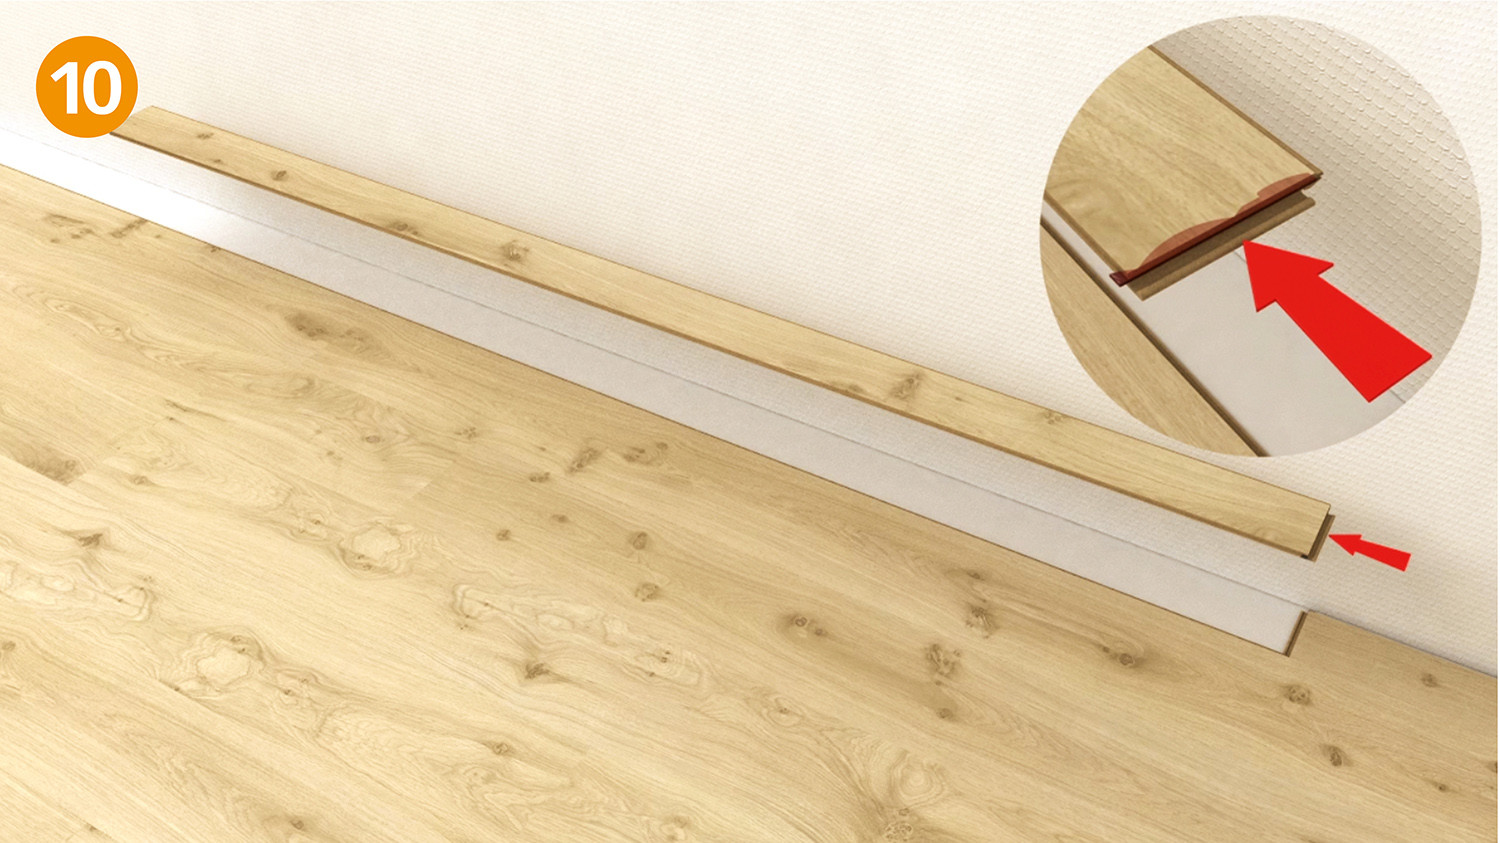
Begin cutting the plank to size at the end of the plastic tongue (Fig. 9). After the plank has been cut to size, push the plastic tongue on the end back into the end groove (Fig. 10).
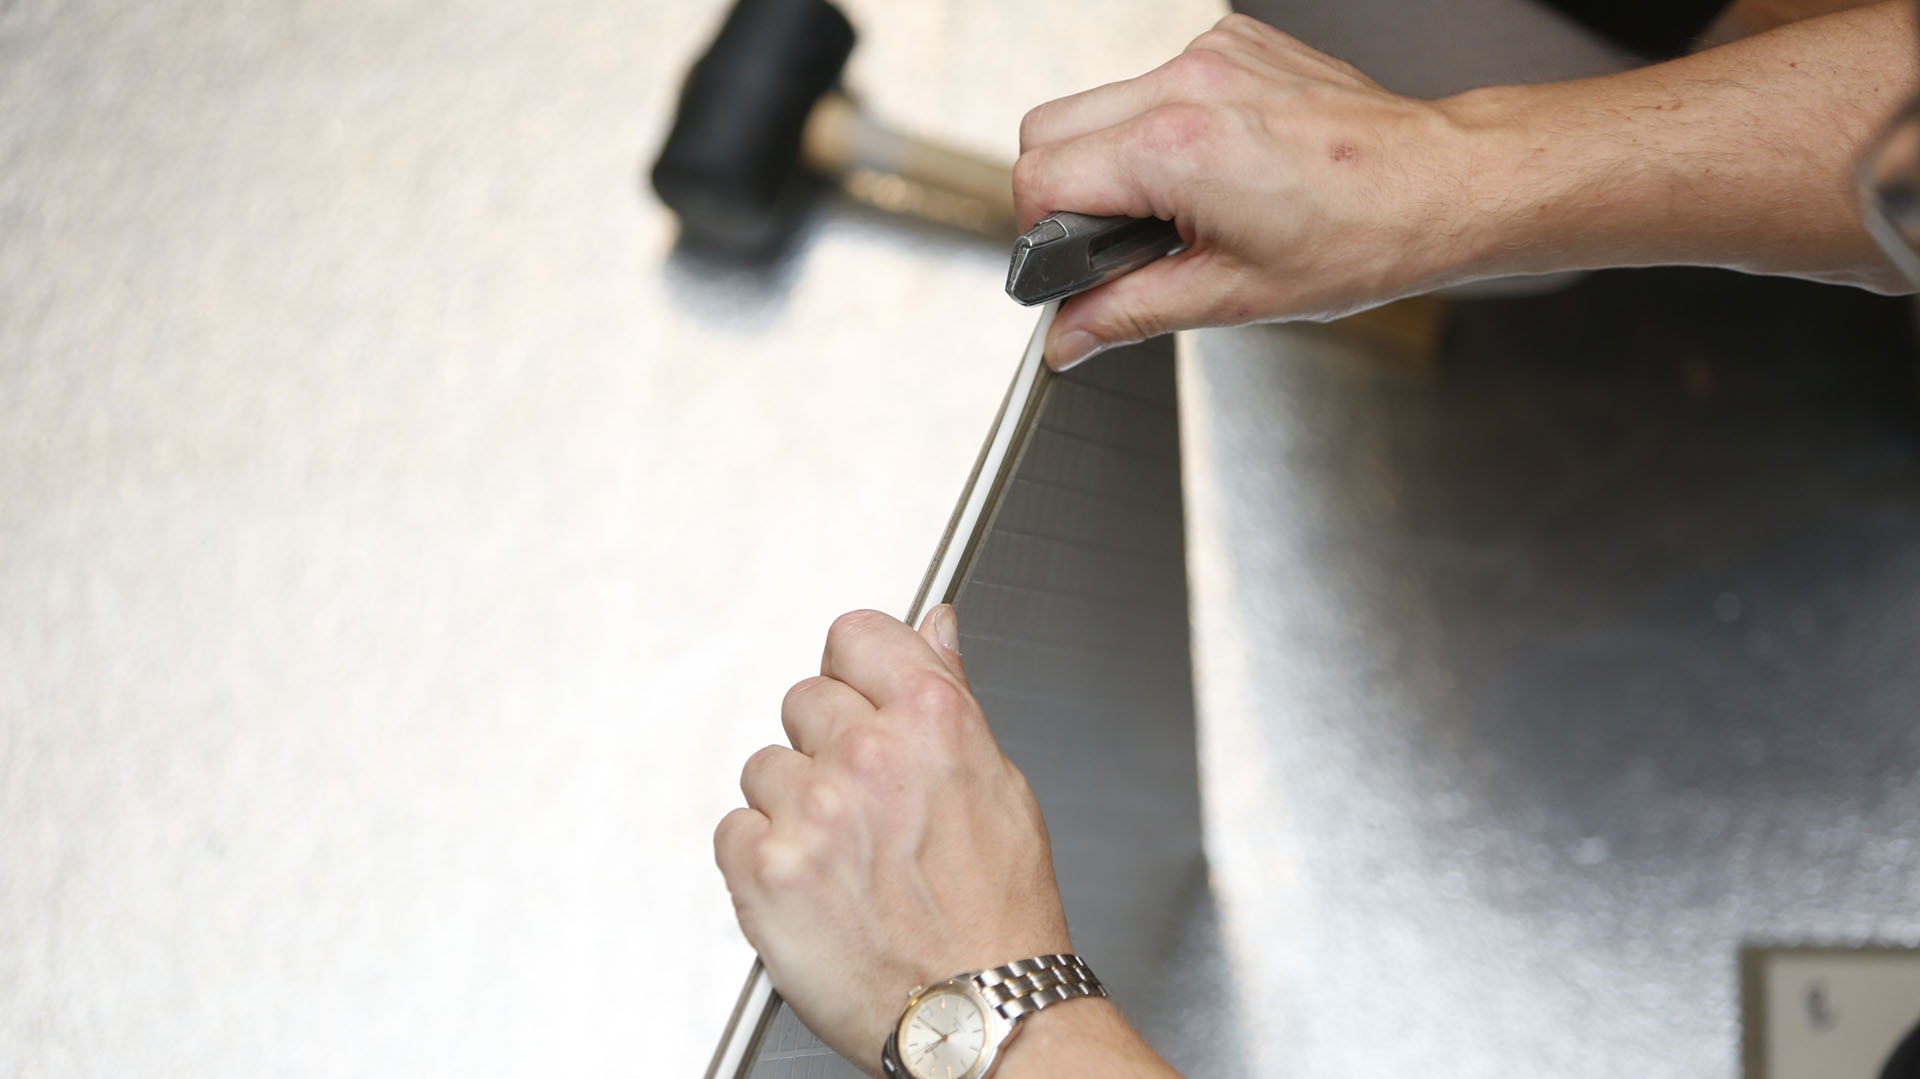
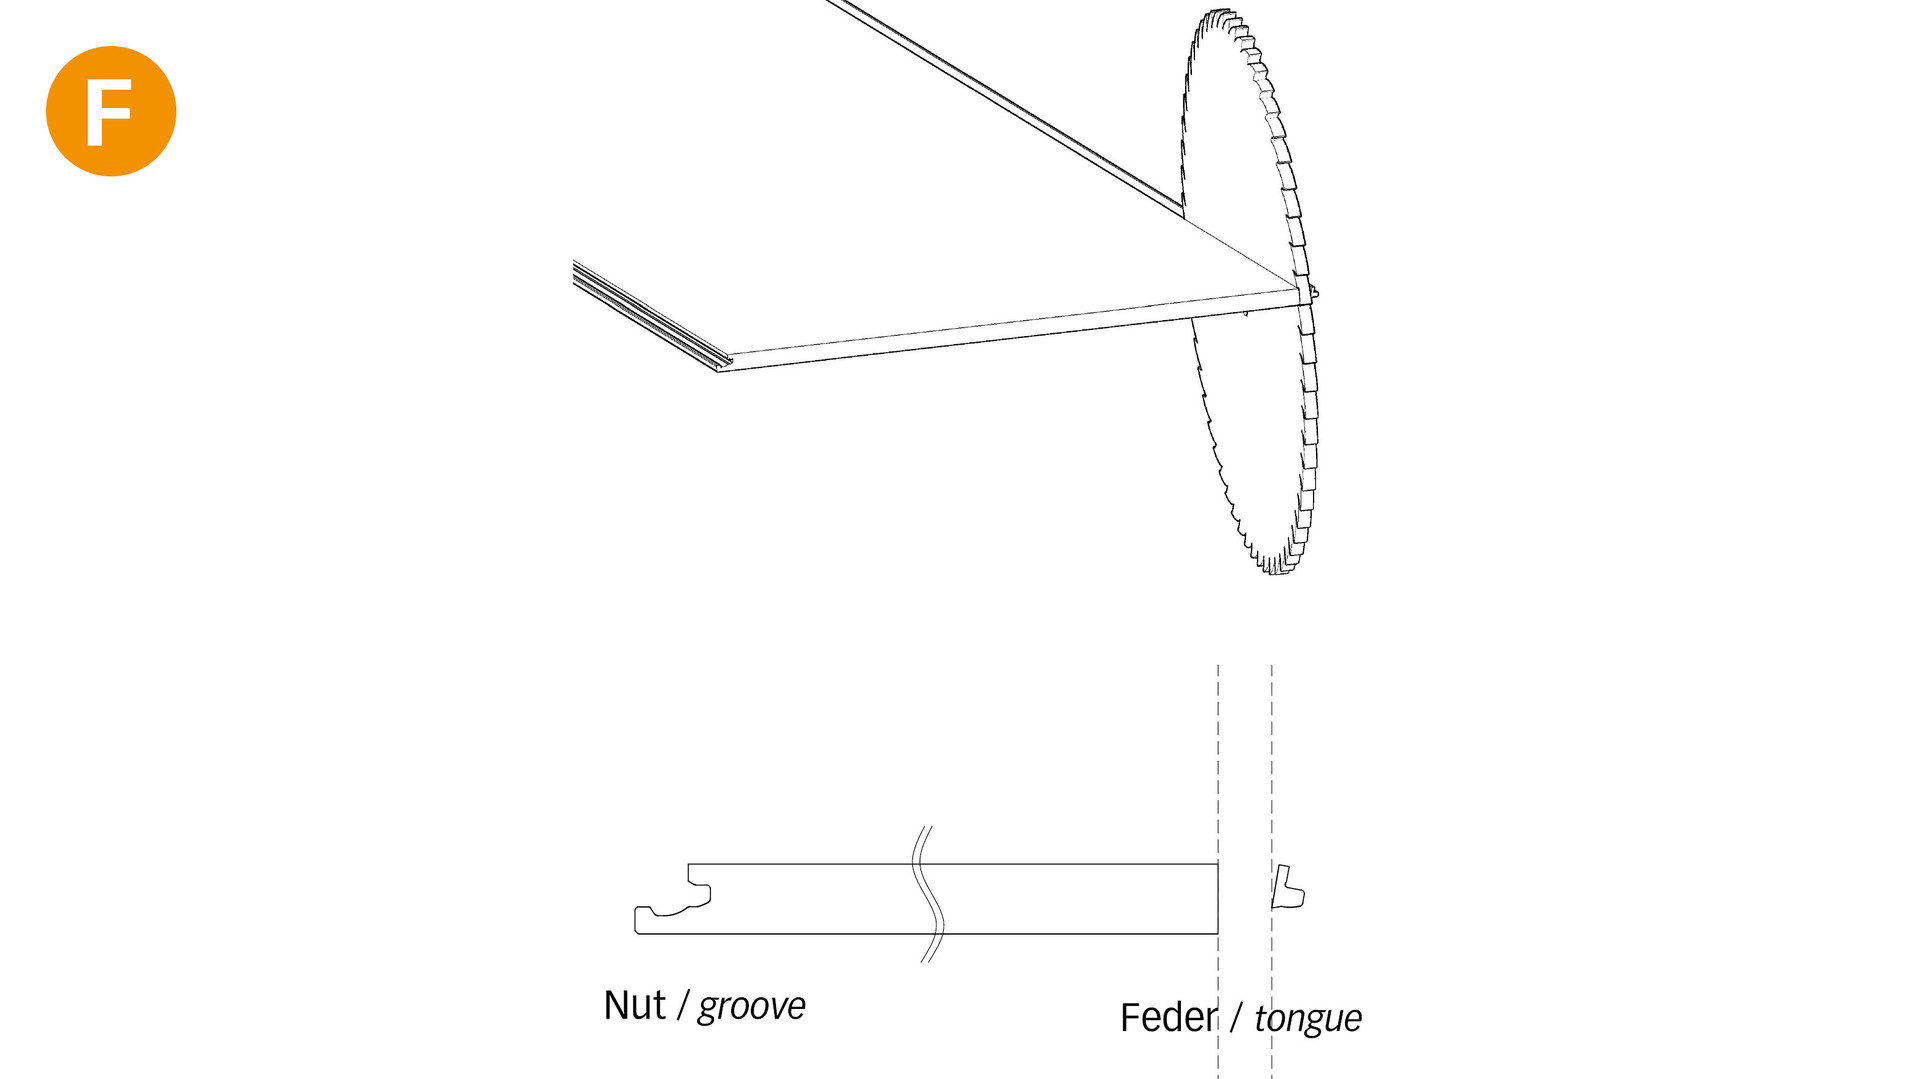
Start by laying the first complete plank in the left-hand corner of the room with the tongue sides facing the wall. Saw the tongues off the first plank, both on the short and the long side (Fig. F). Remove only the tongues on the long sides of all the other planks you want to lay in the first row. Using wedges, you can easily keep a gap of at least 10 mm or 1.5 mm per metre from the wall.
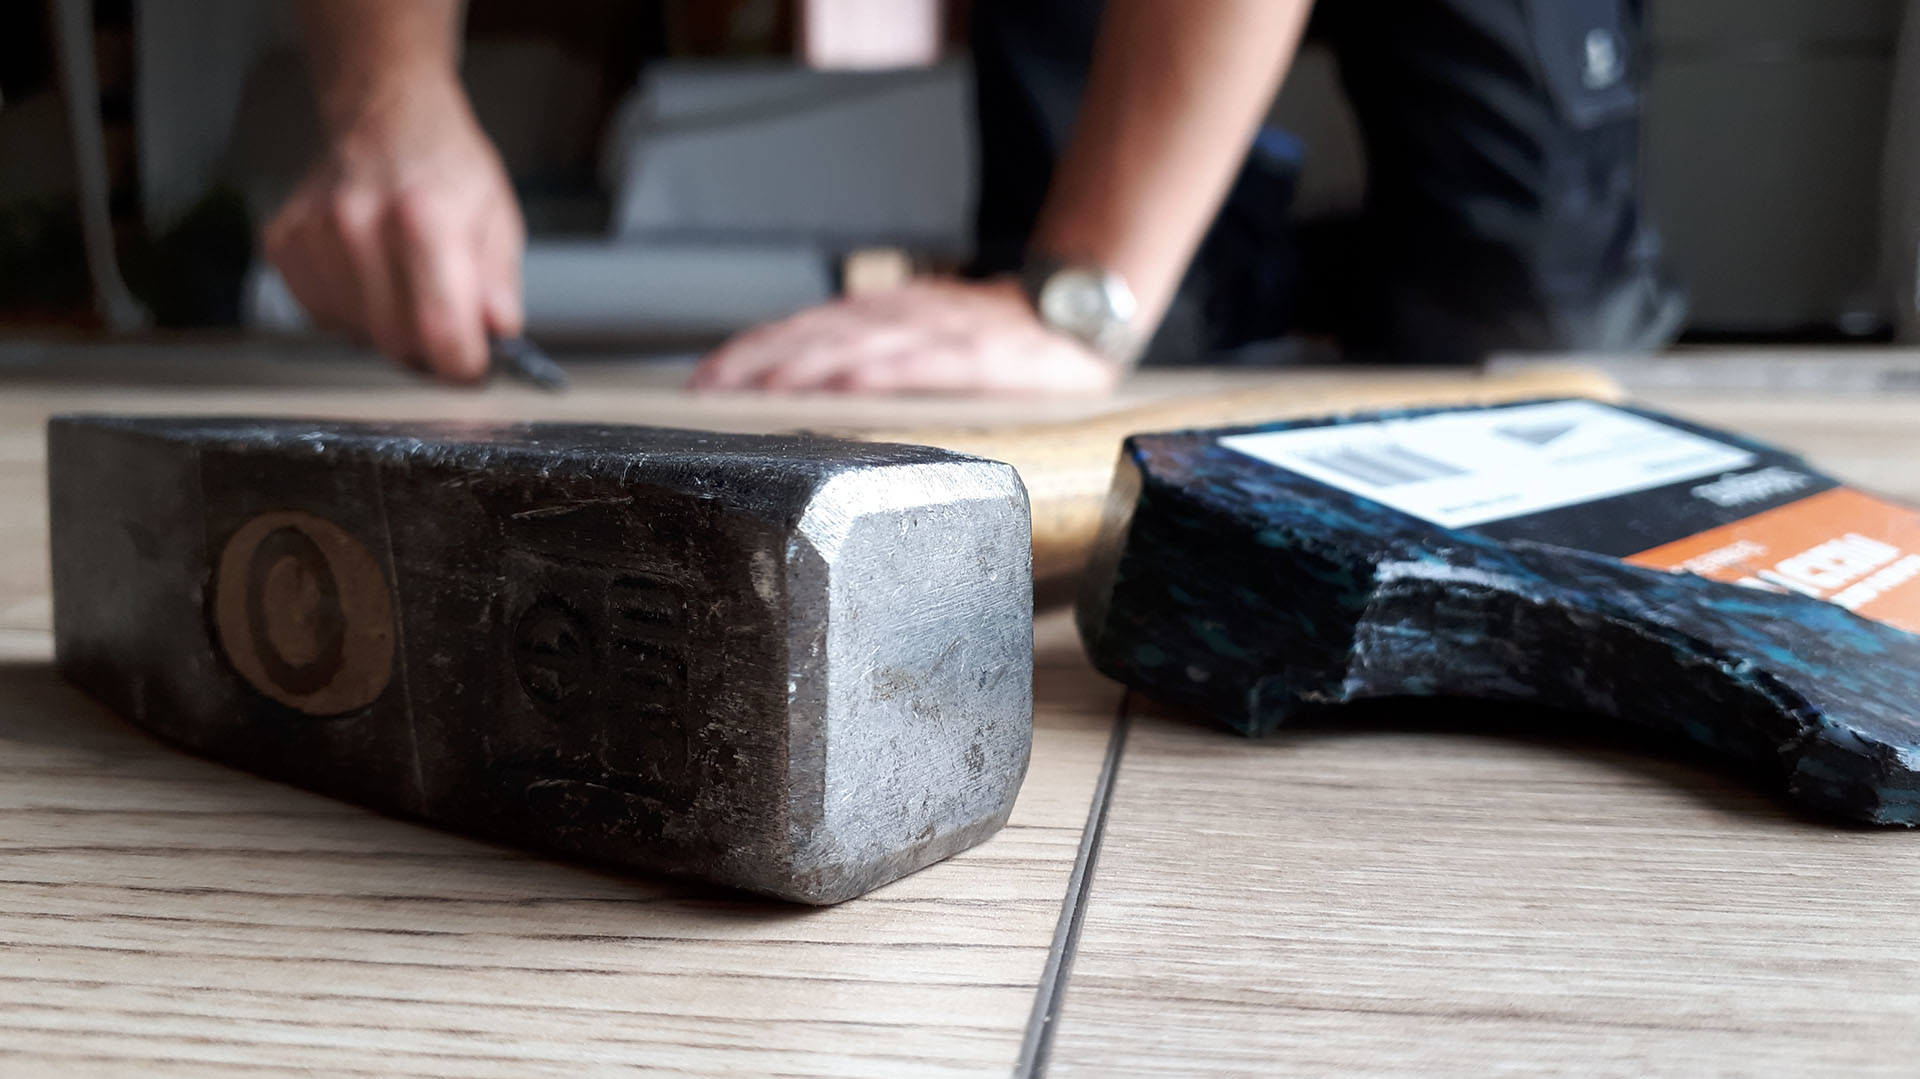
Join the next complete plank to the end of plank 1 using the 5 mm tapping block and a hammer.
Lay the other planks in this row in the same way across the entire width of the room. Wherever space is too tight to work with a hammer and tapping block, you can use a tension rod to help click the end joint in place.
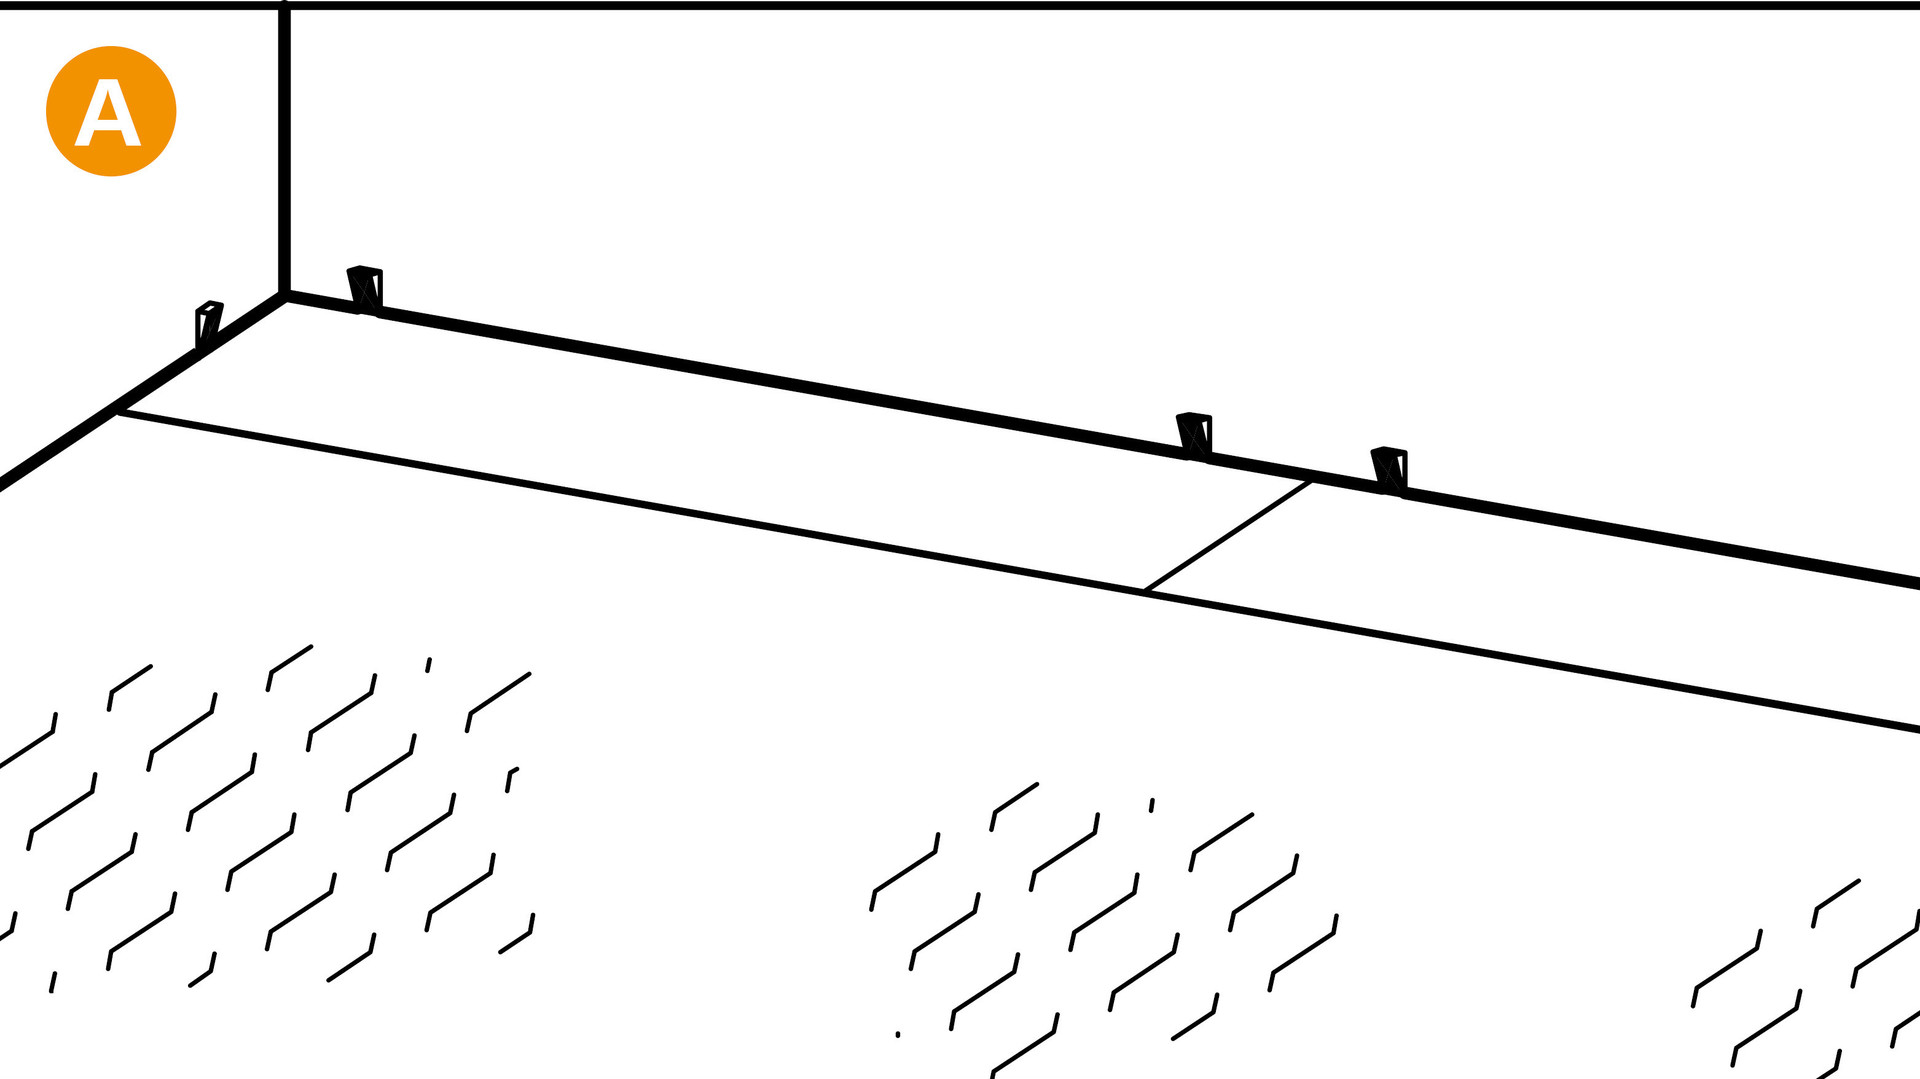
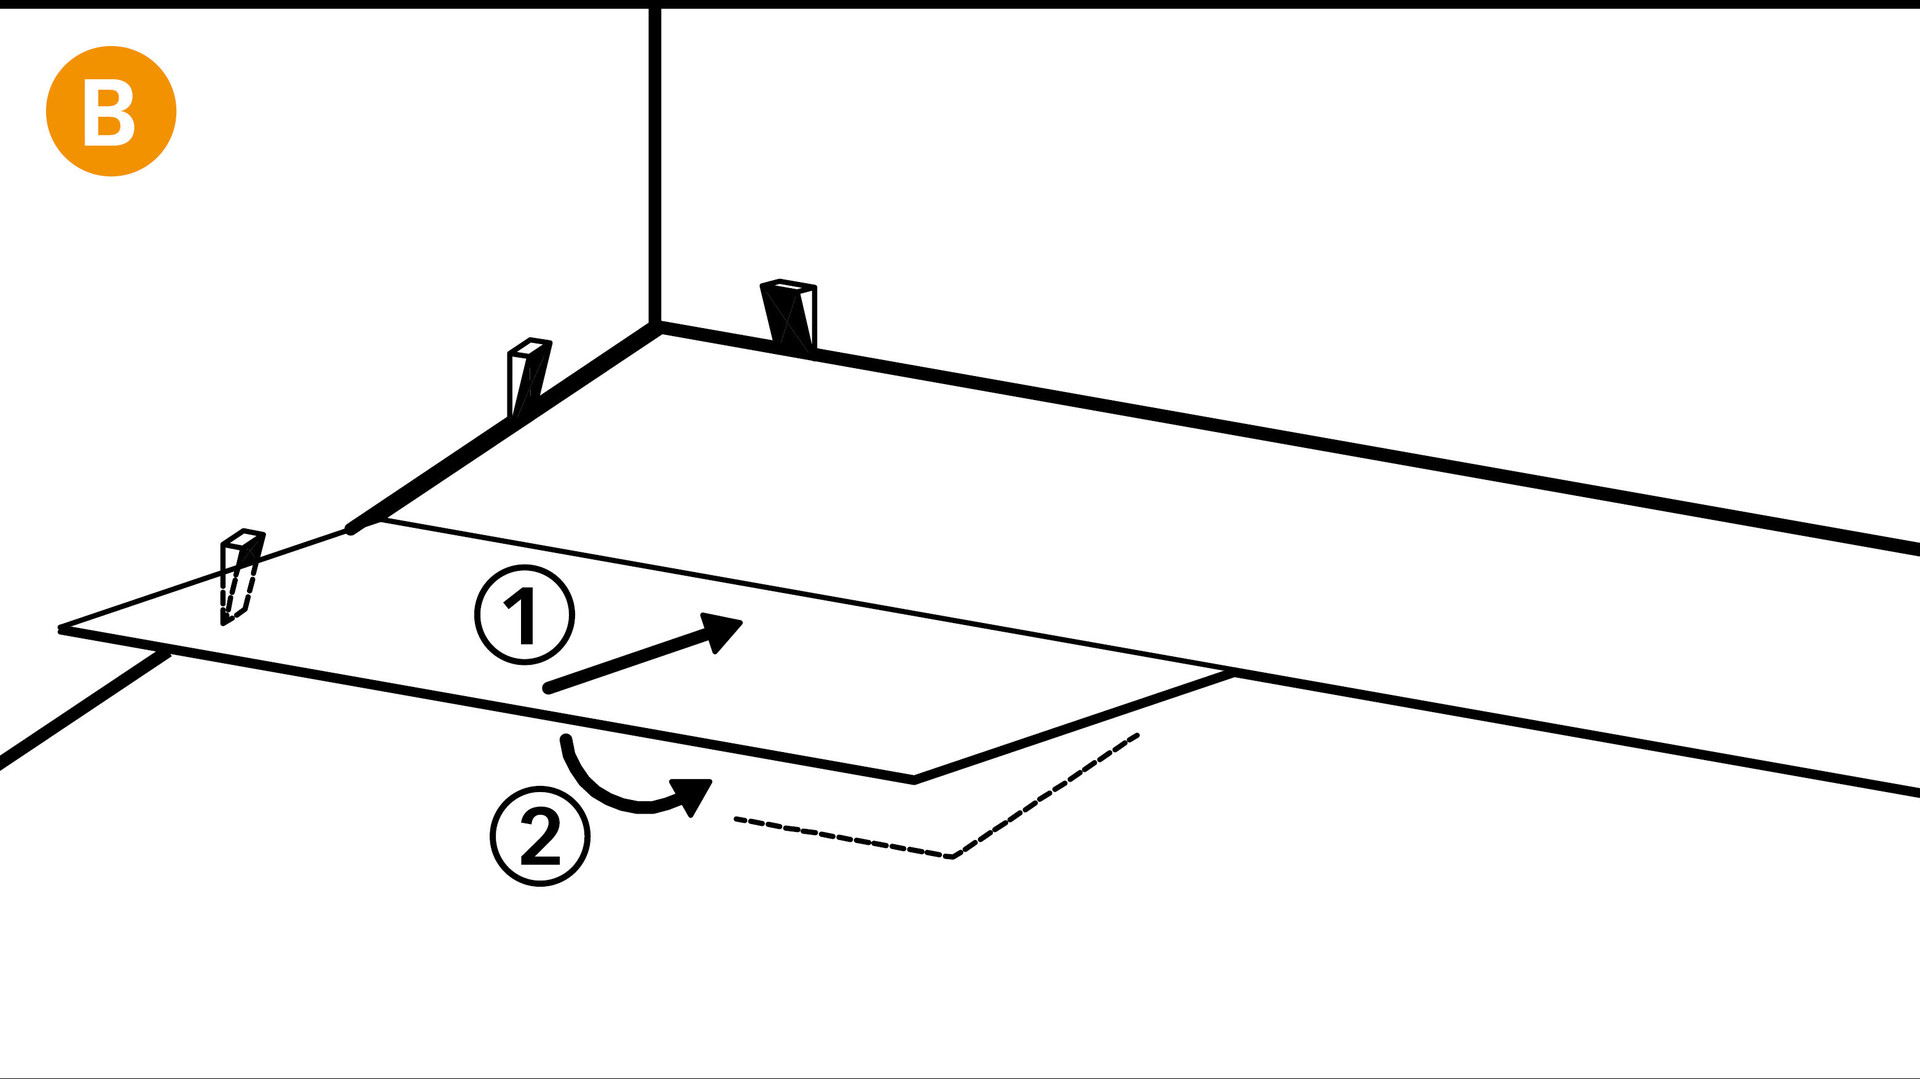
Make sure the planks in the first row are straight (Fig. A). Cut the first plank of the second row down to approx. 80 cm (approx. 50–60 cm for MeisterDesign. flex DB 400). To install the second row, insert the long tongue into the groove of the first row of planks (Fig. B, 1).
By moving the plank slightly up and down, angle it completely into the already laid row of planks (Fig. B, 2).
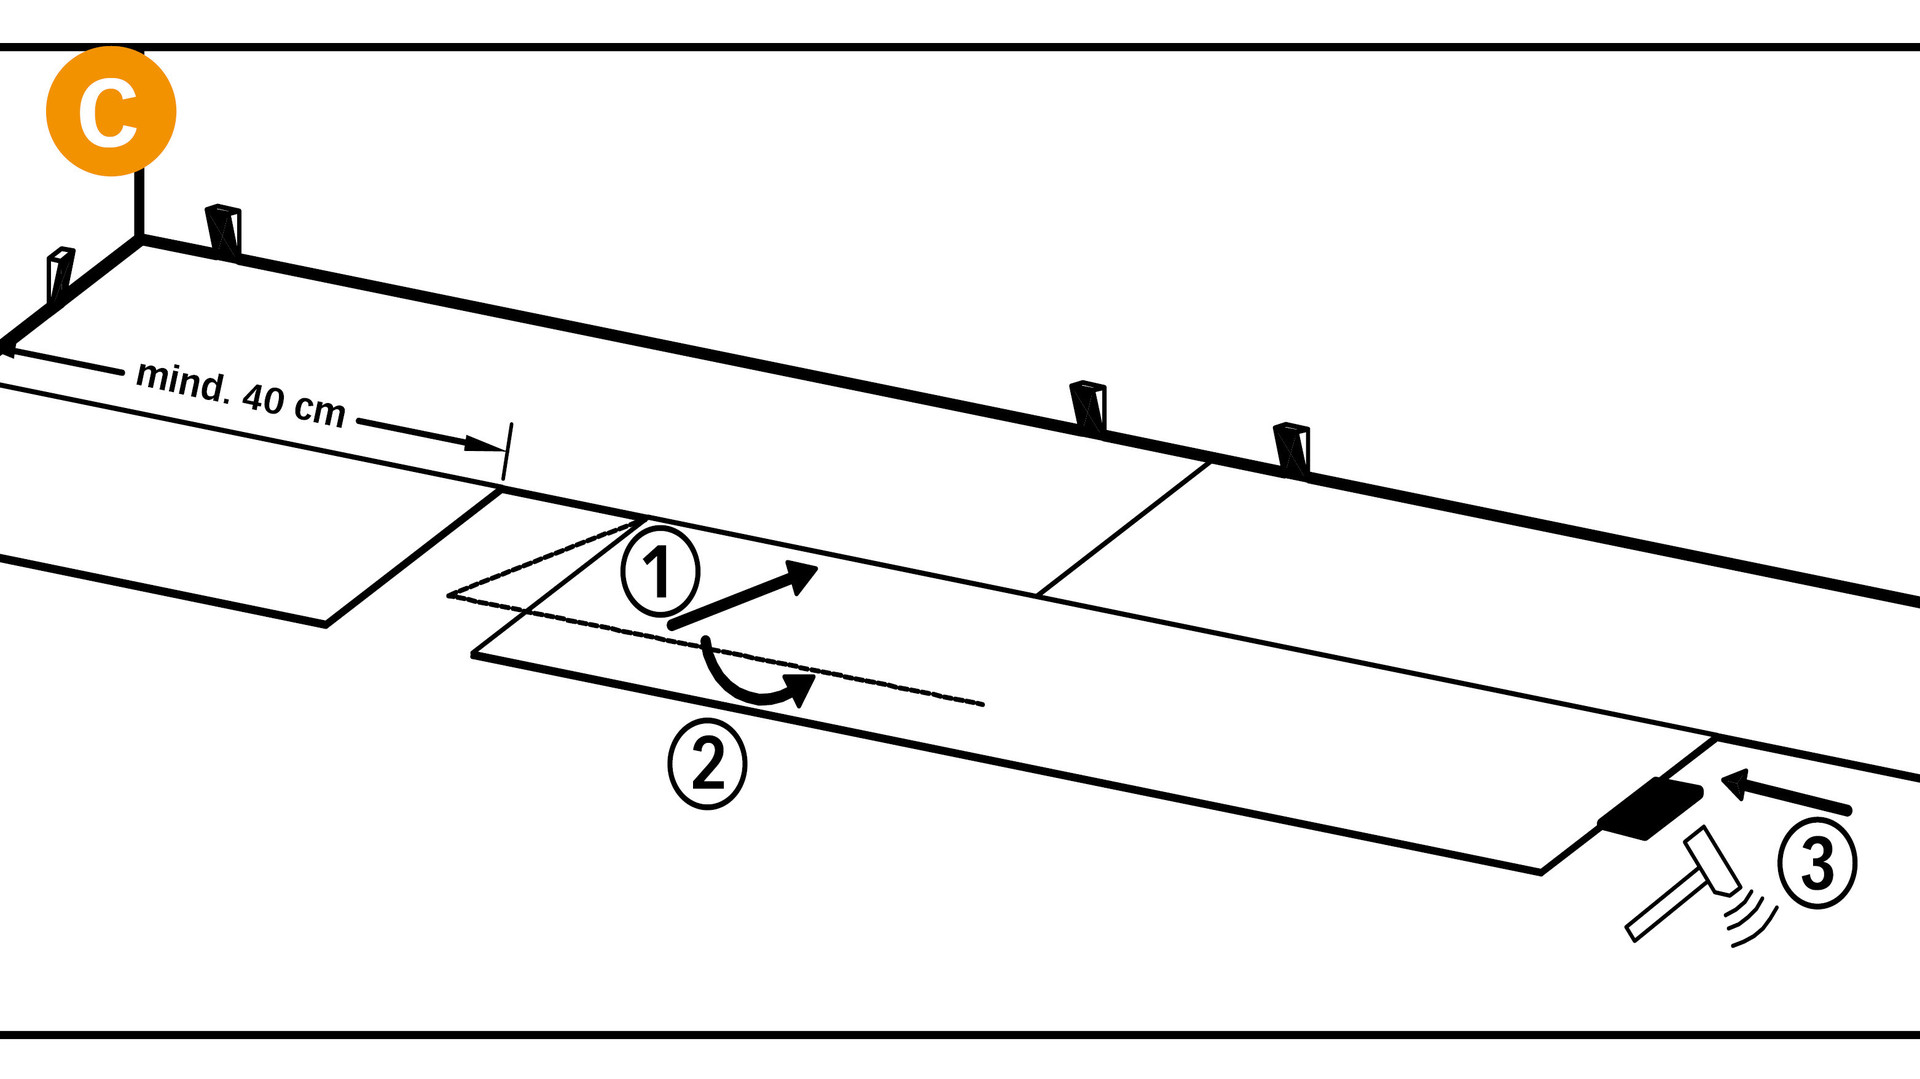
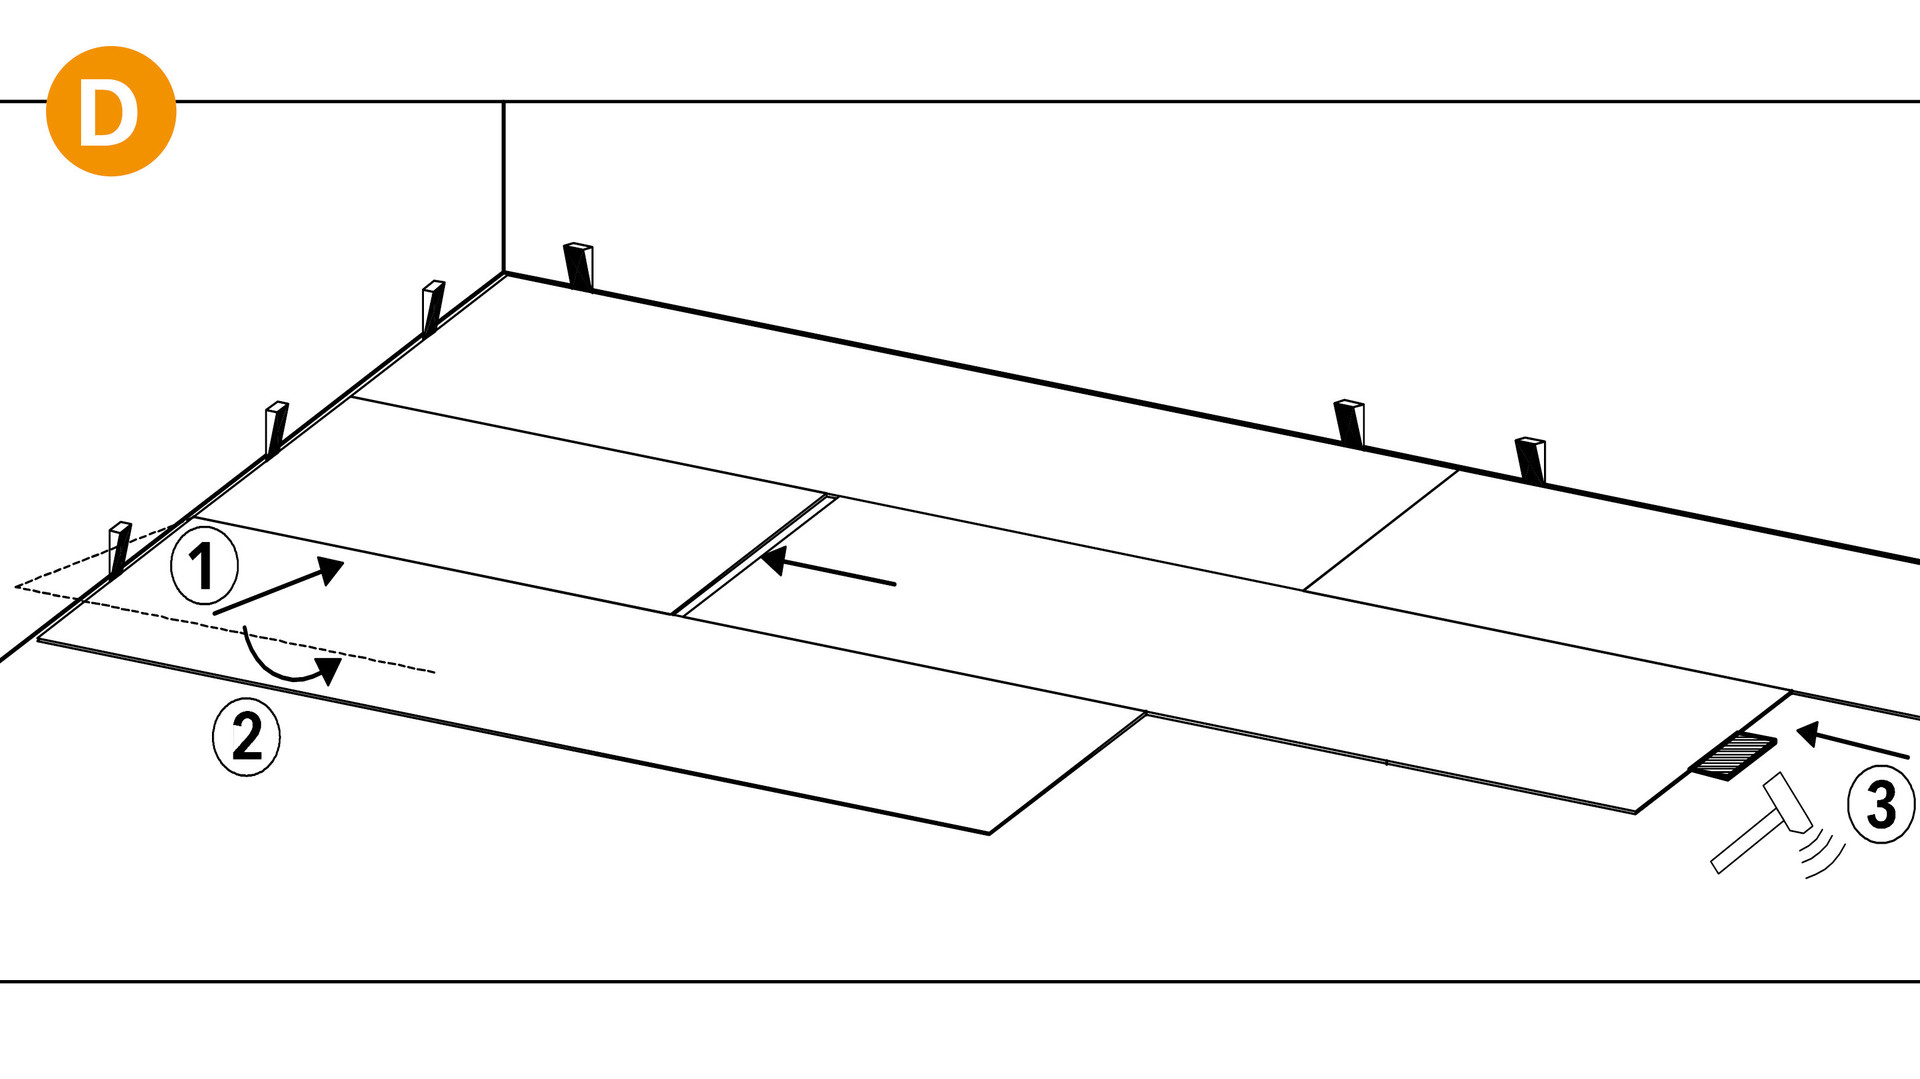
Again, angle the next complete plank of the second row first on its long edge against the previously laid plank. Always make sure the long joint is tight. Once you have angled in the planks (Fig. C, 1 and 2) so they lie flat on the subfloor, start by installing the first plank in the third row. As soon as you have angled in and laid this plank (Fig. D, 1 and 2), click the second plank in the previous row together at the ends using the 5 mm tapping block and light taps with the hammer (Fig. D, 3).
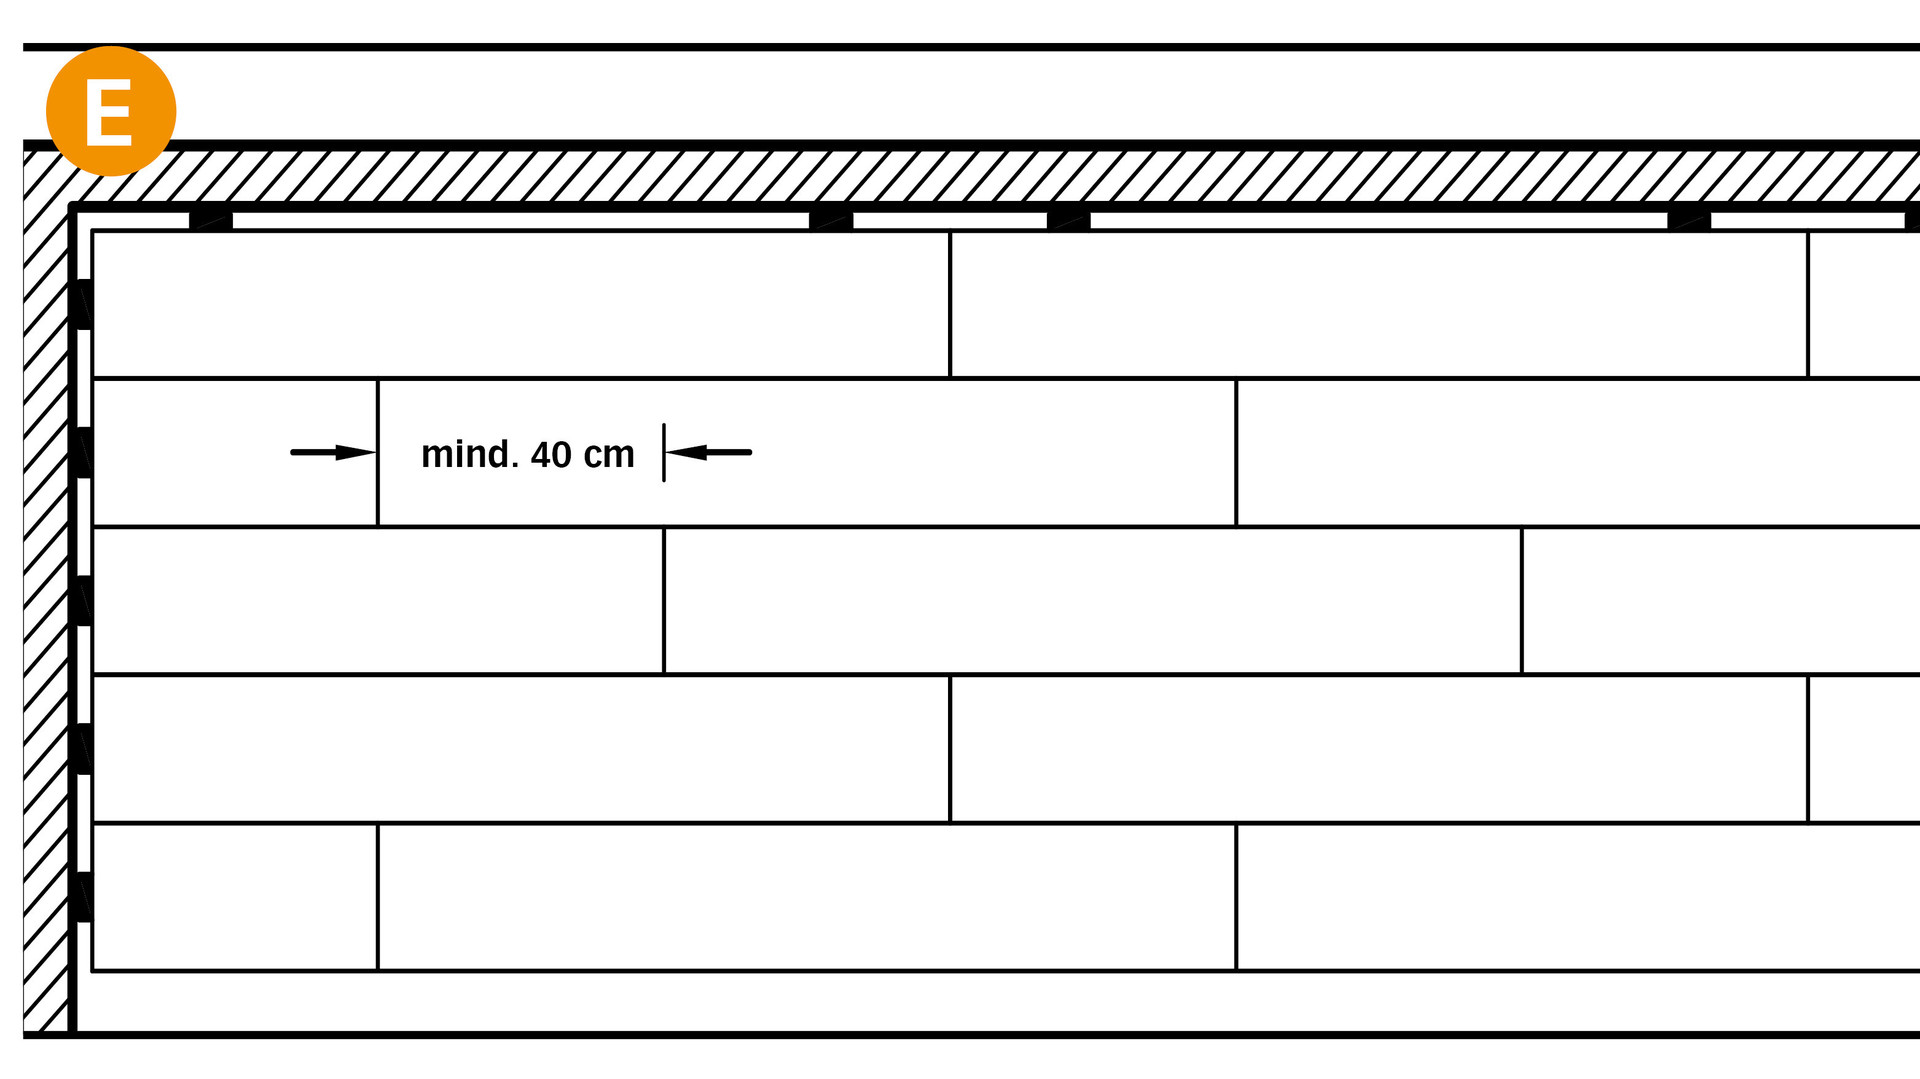
Install the whole area row by row in this way. Install the planks row by row until you have covered the whole room – always first fitting the long tongue into the groove and then joining the plank ends together. Before you click the plank together at the ends using the hammer and tapping block, a plank should already be angled into the next row (guide plank, Fig. D). Remember that the end joints must be offset by at least 40 cm (approx. 25 cm for MeisterDesign. flex DB 400) to ensure the overall area is more stable (Fig. E).
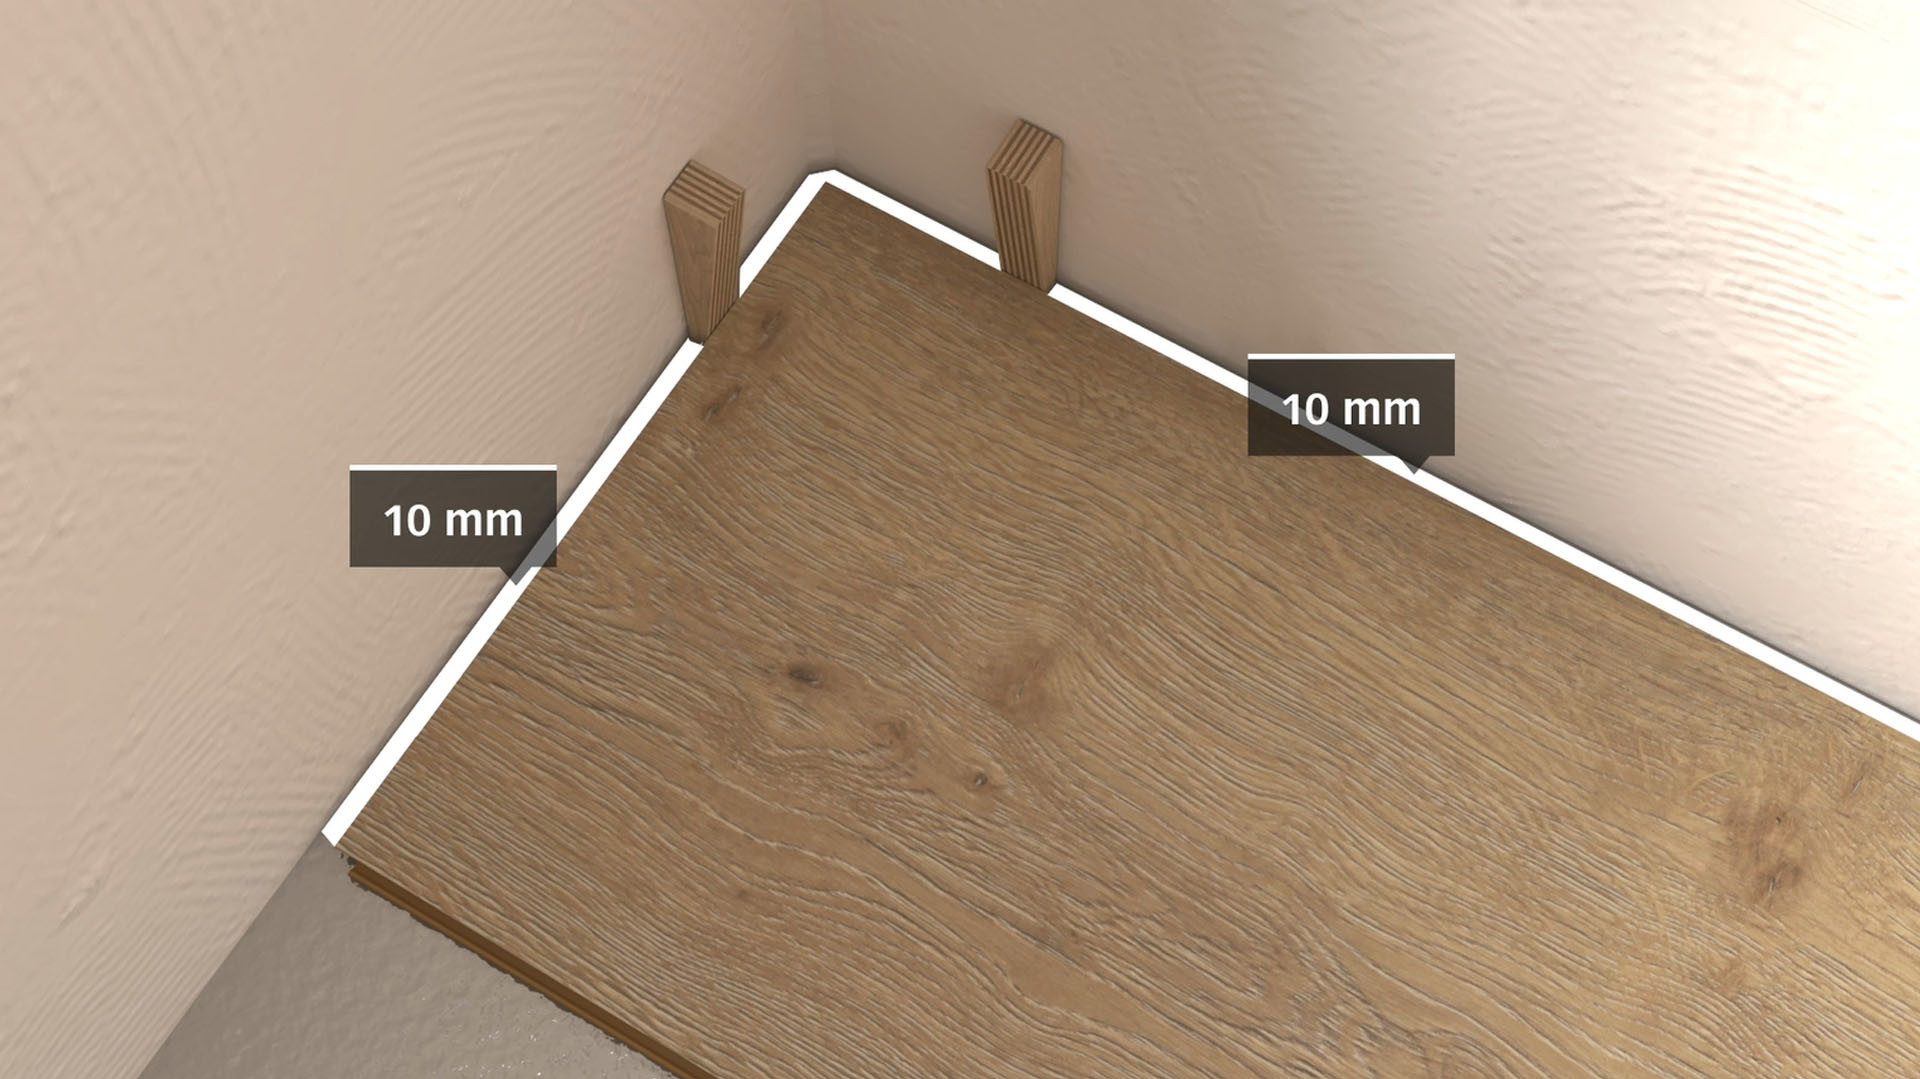
Cut the last plank in each row so that you leave a gap of at least 10 mm or 1.5 mm per metre to the wall. To cut the last row to size, use a spare piece of plank and draw the remaining plank width on it (leaving at least a gap of 10 mm or 1.5 mm per metre to the wall). After you have laid the last planks, you can walk on the floor straight away and start attaching the skirting boards.